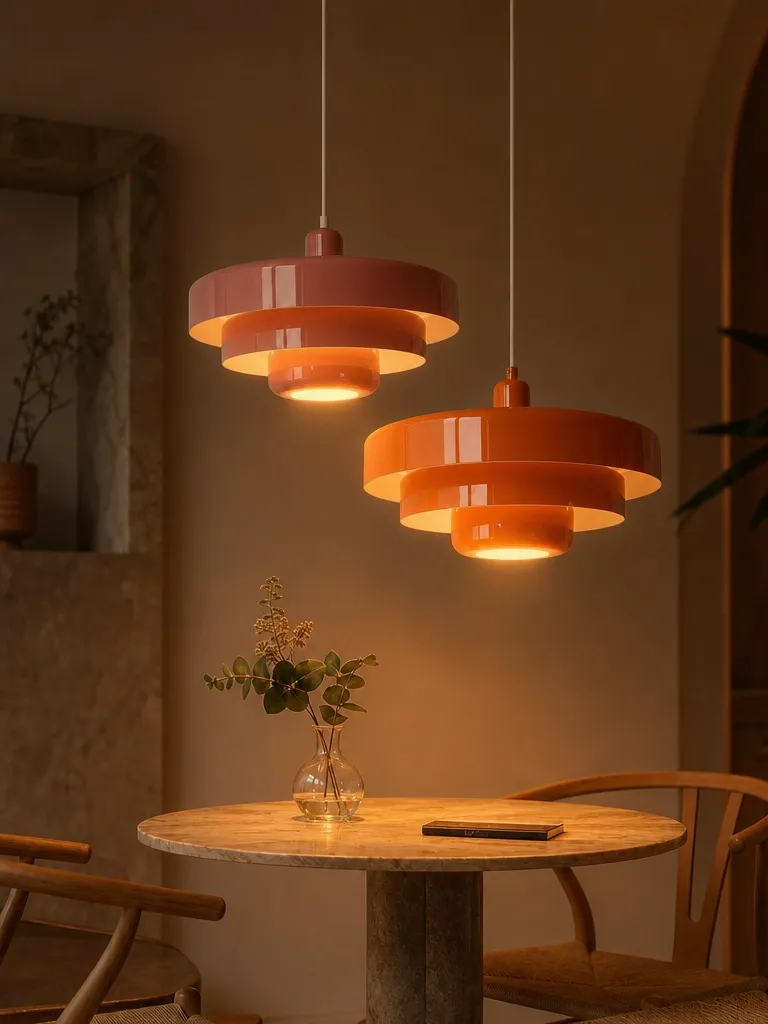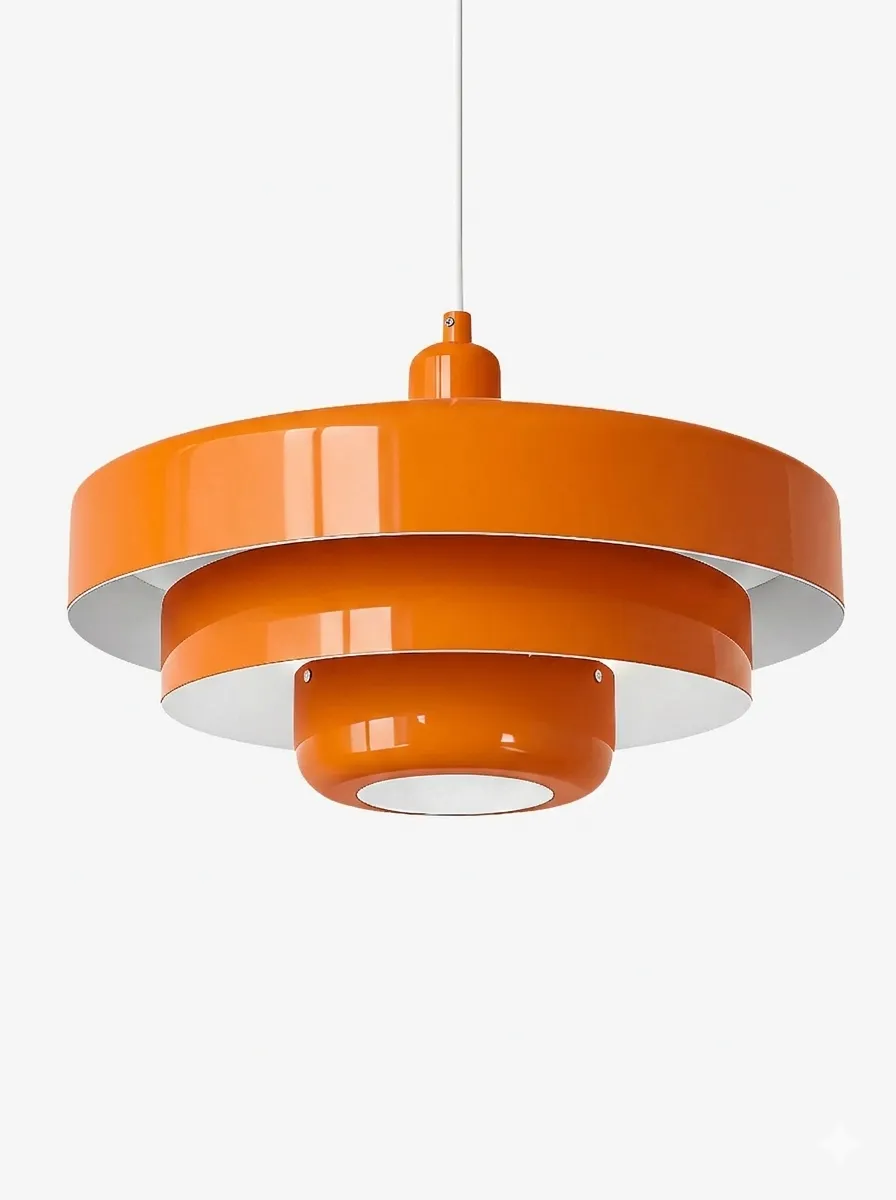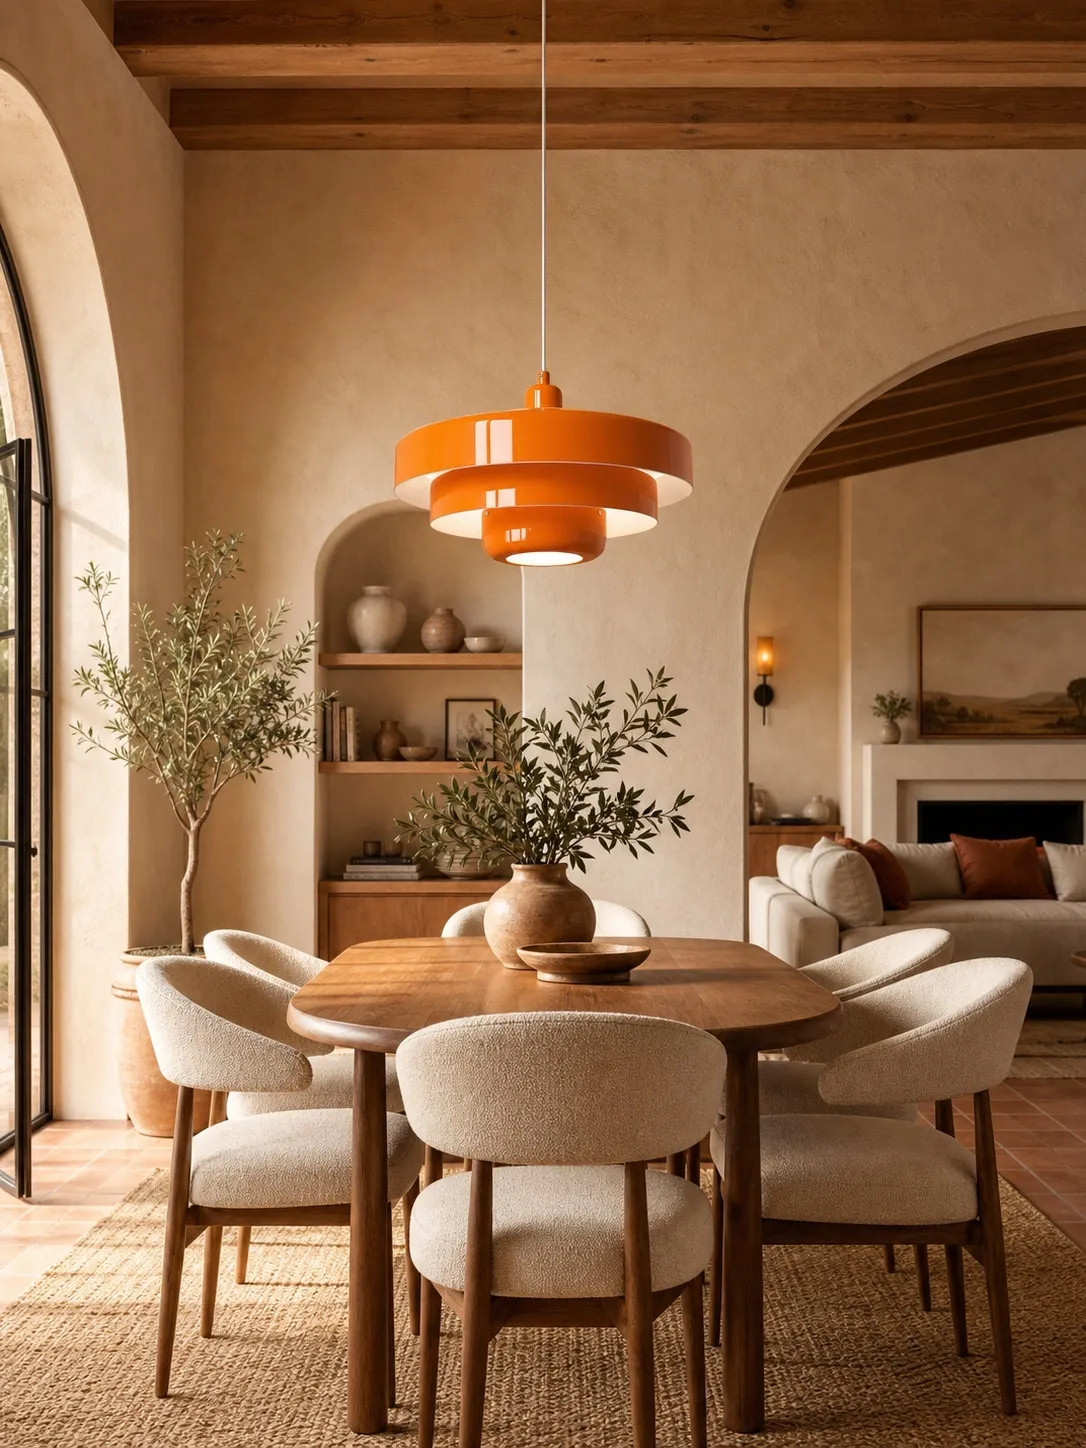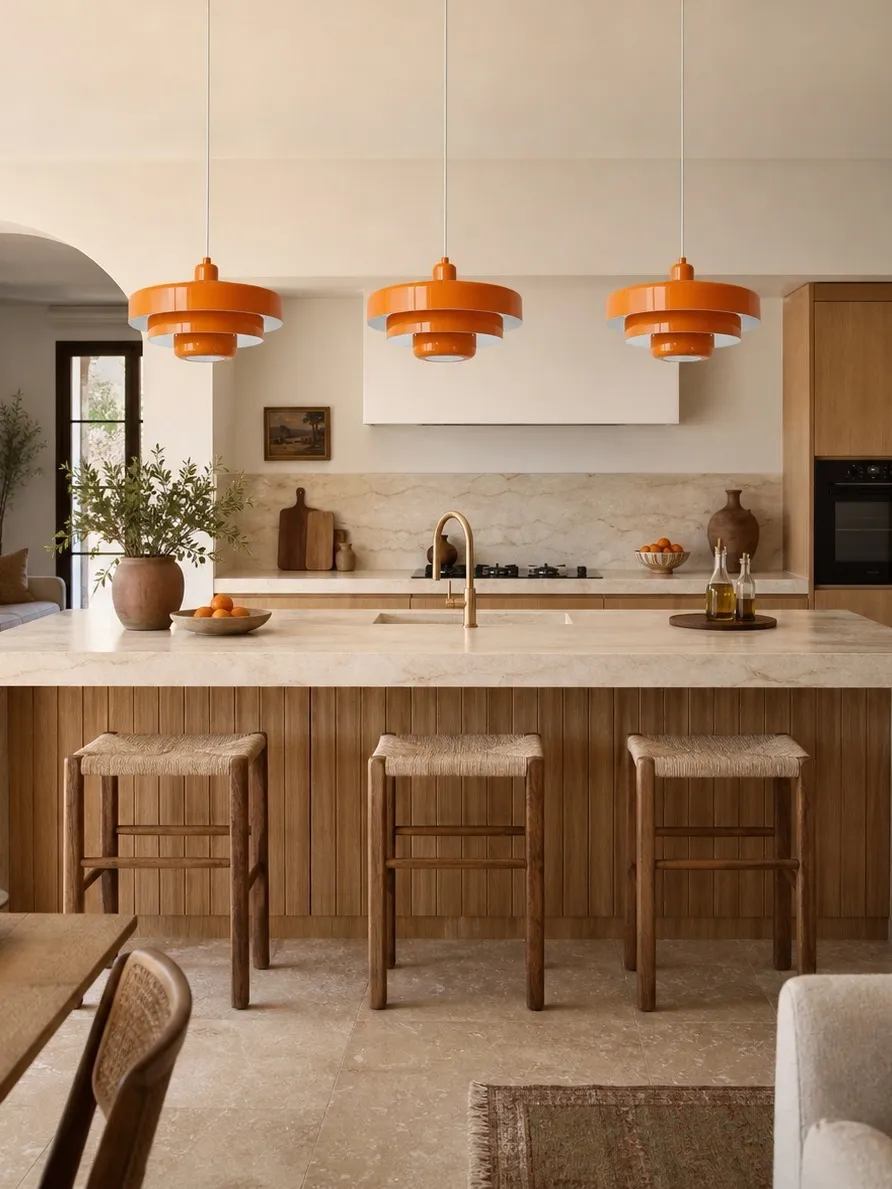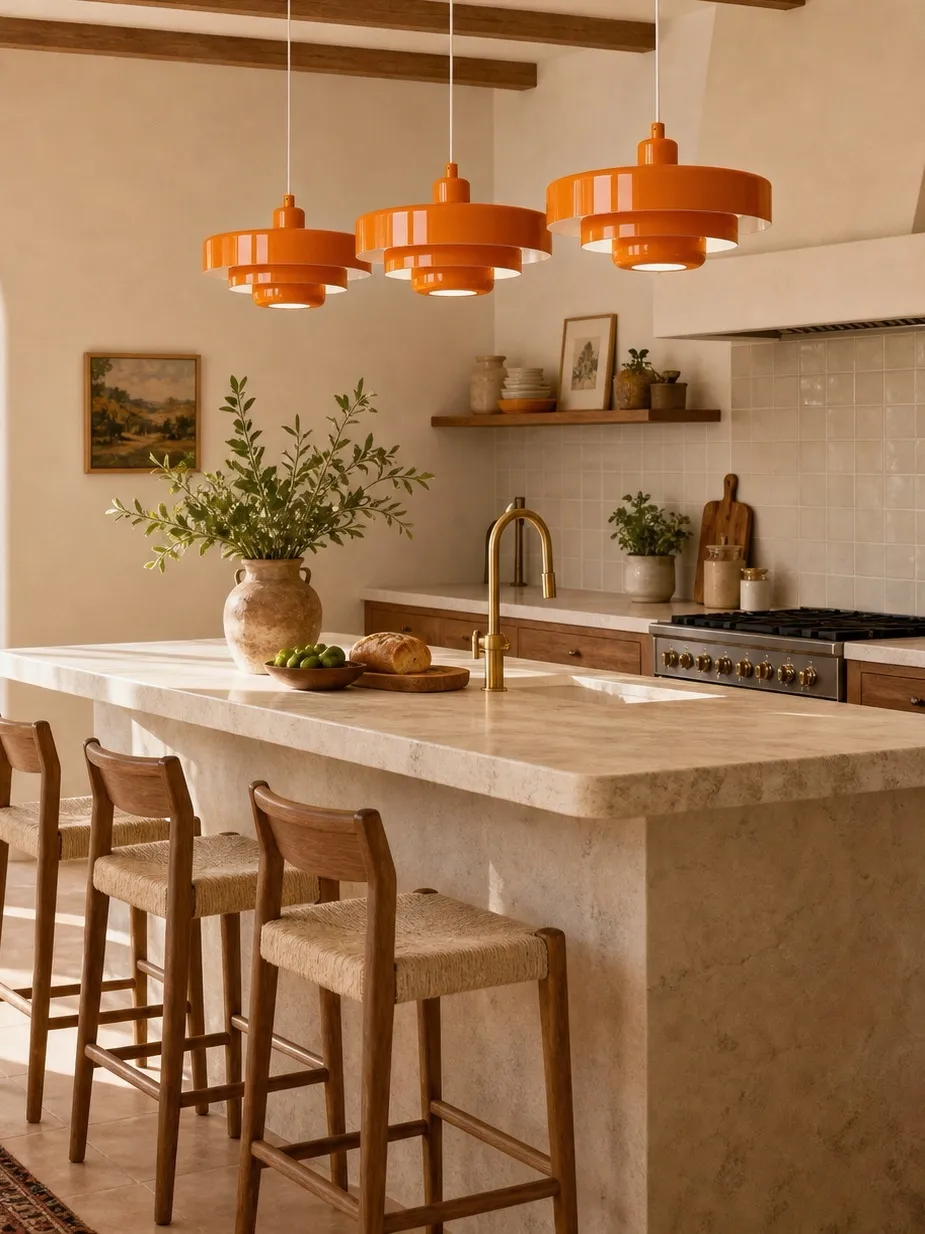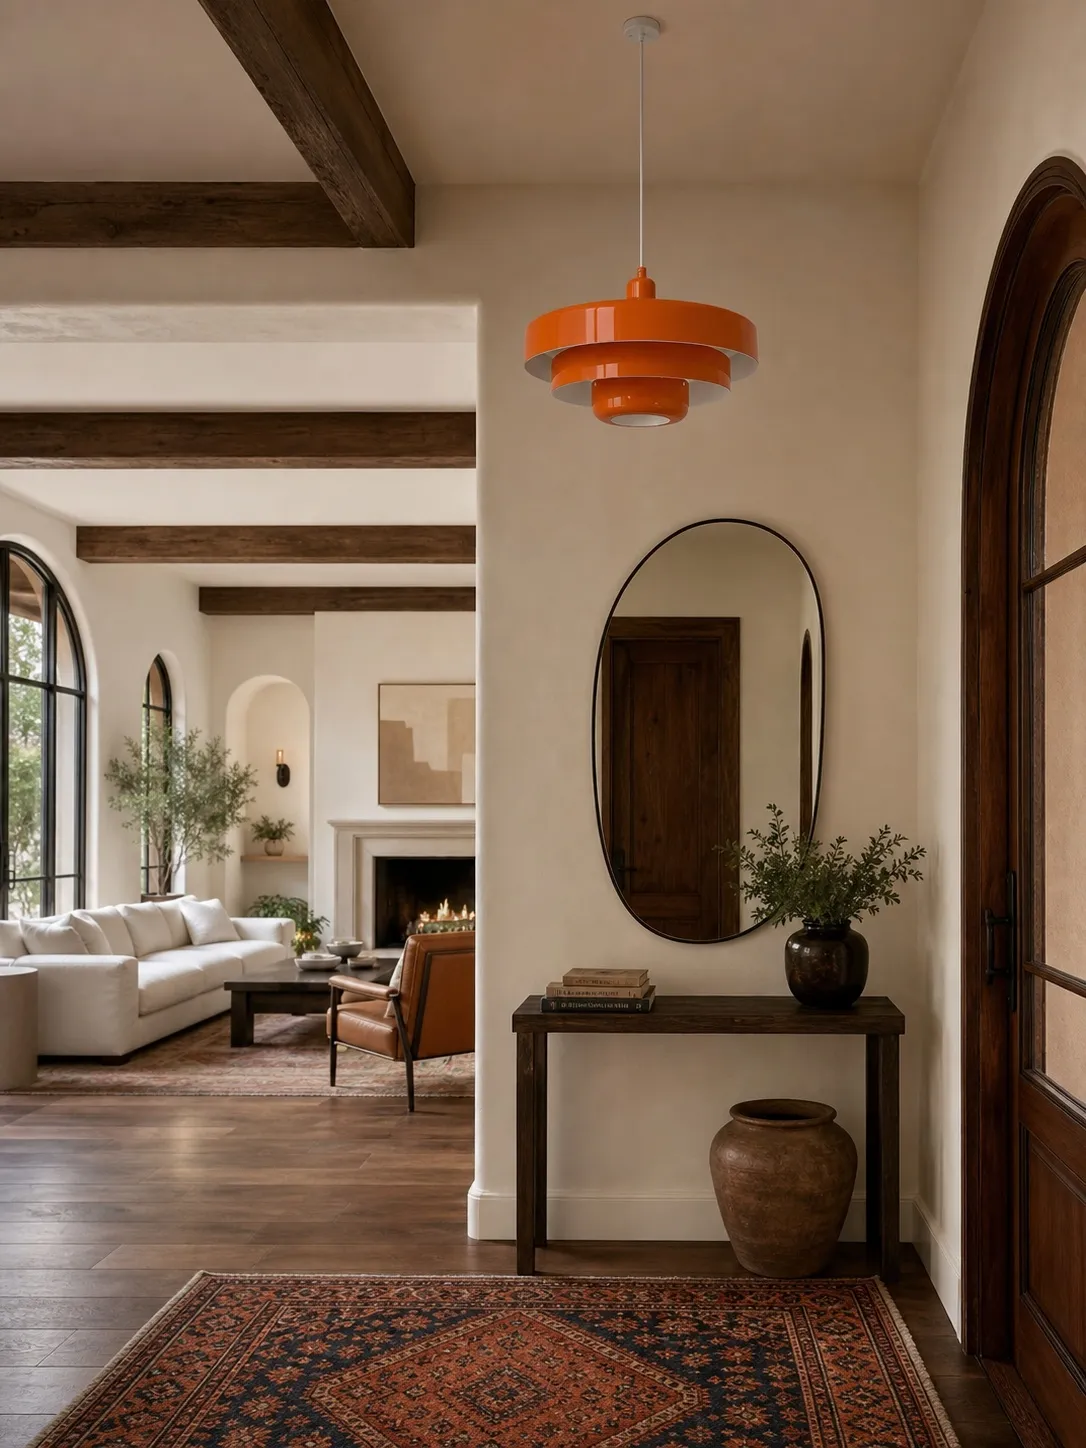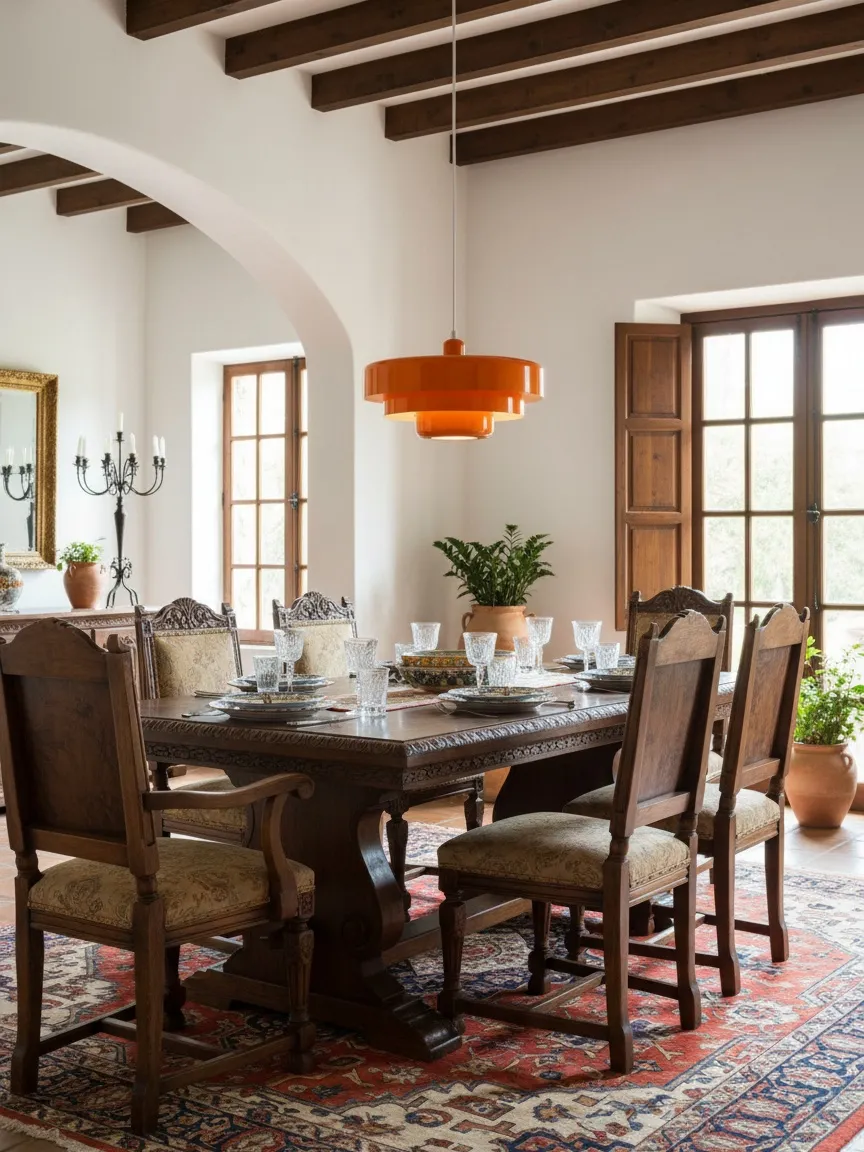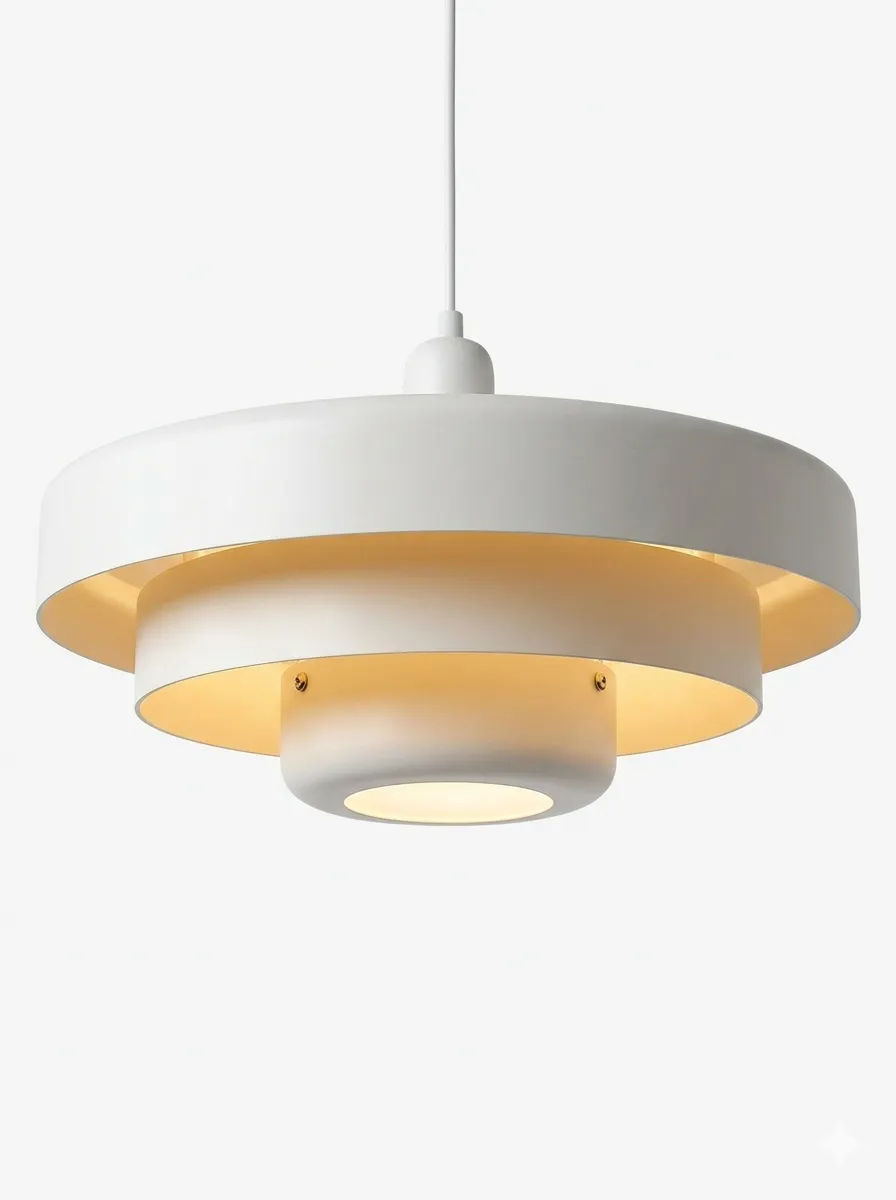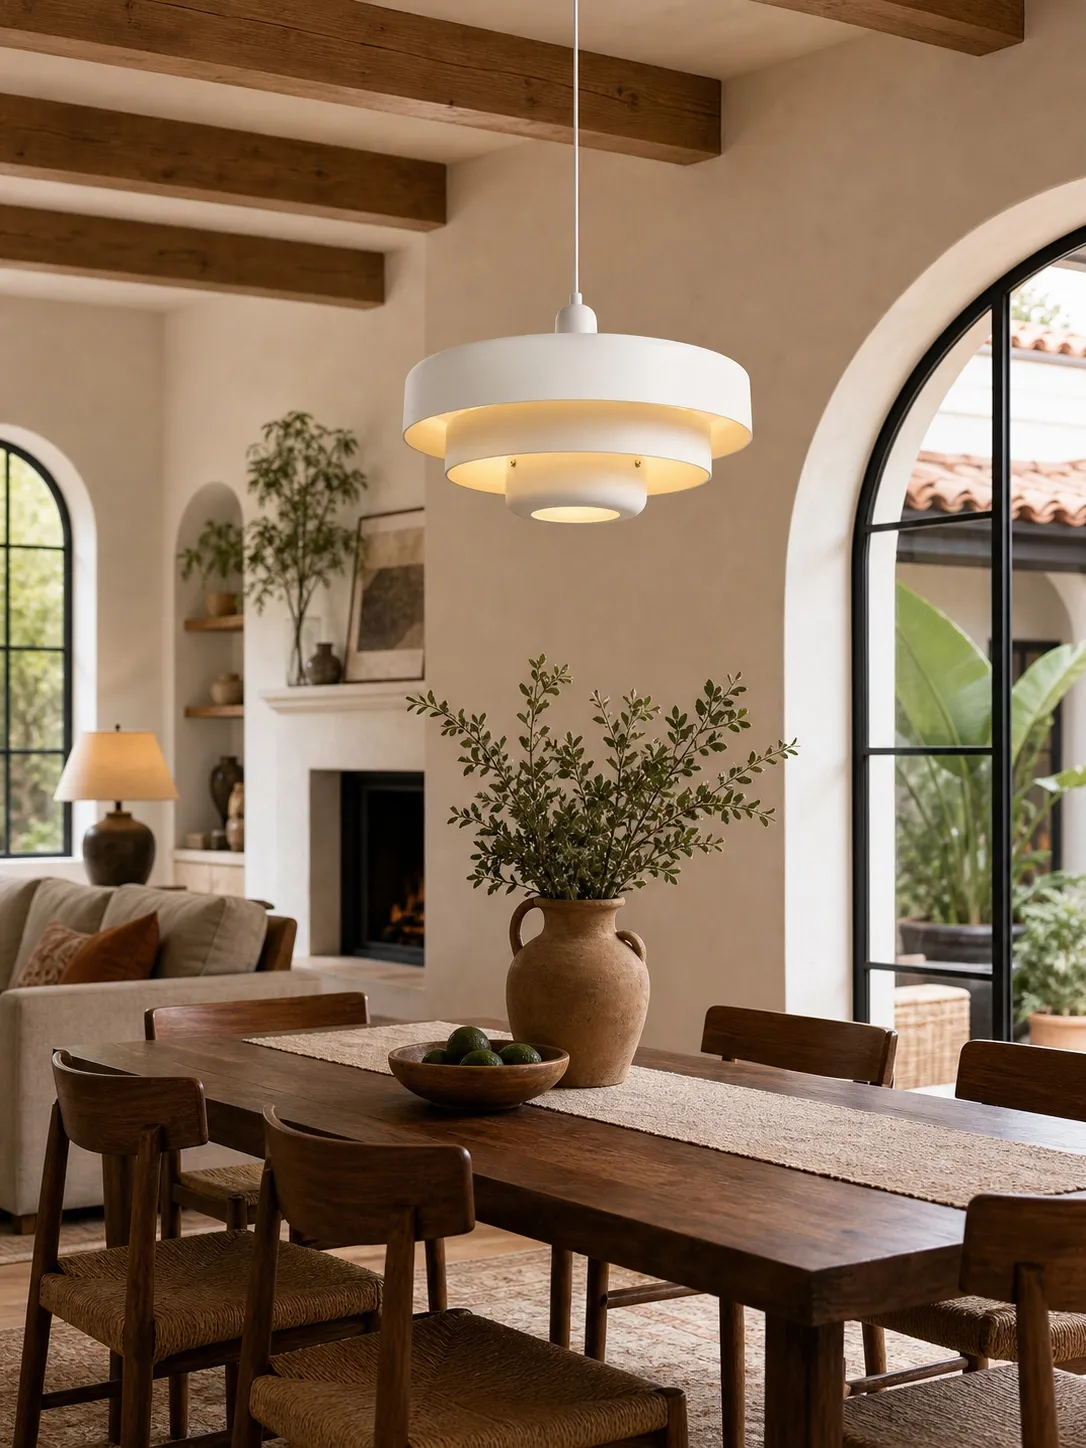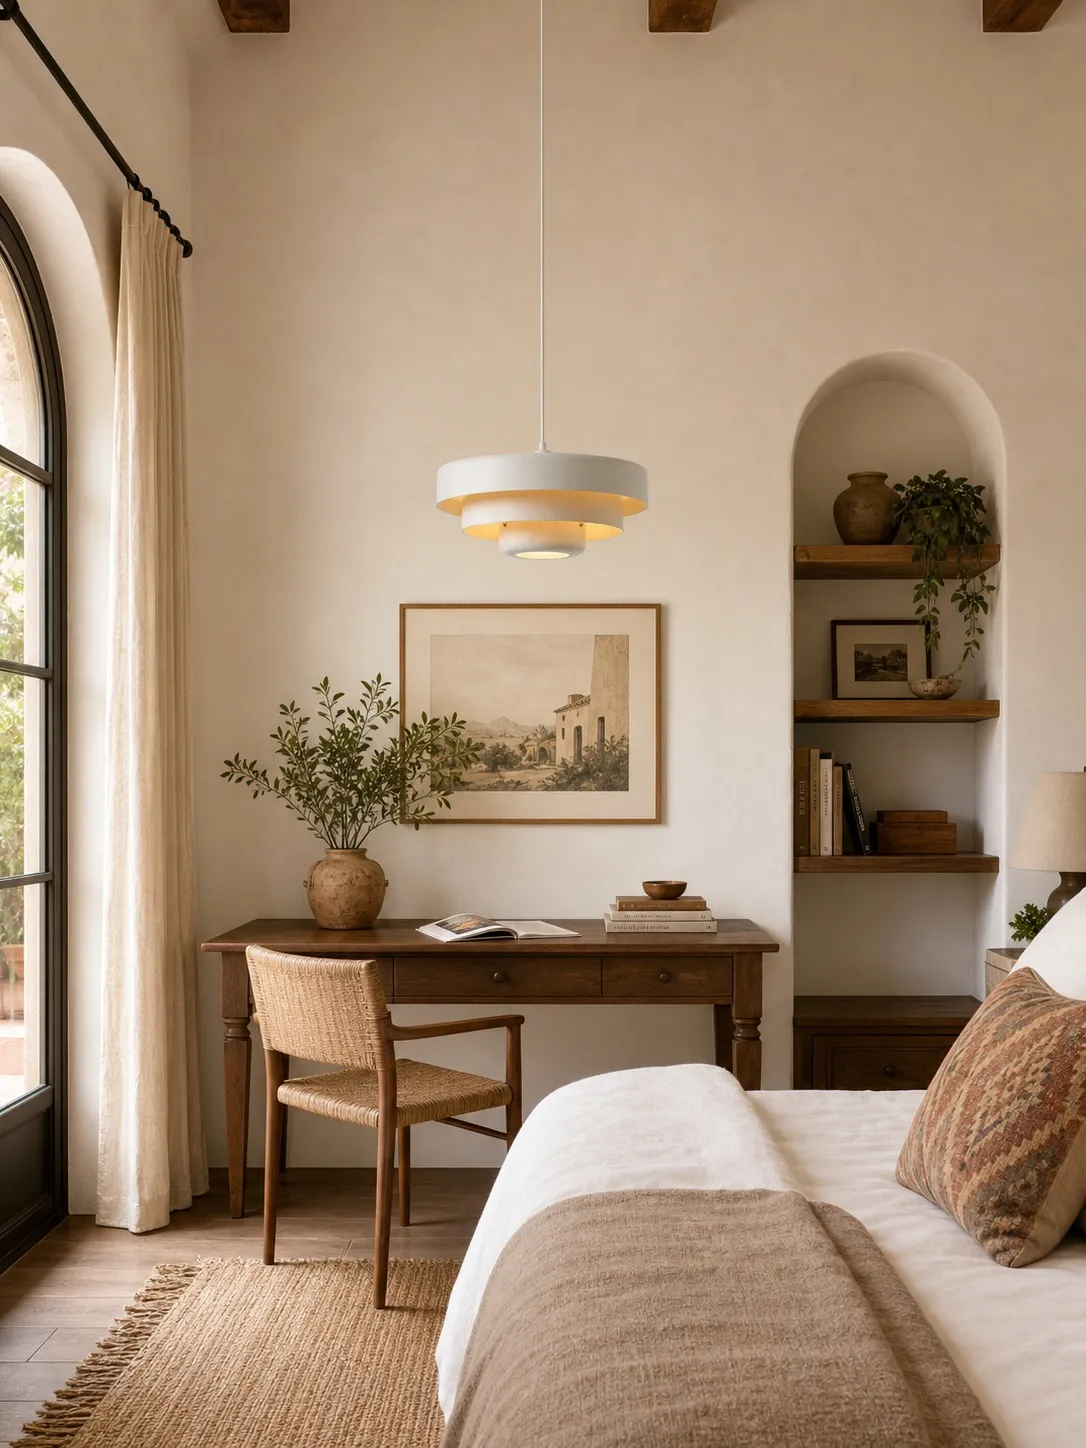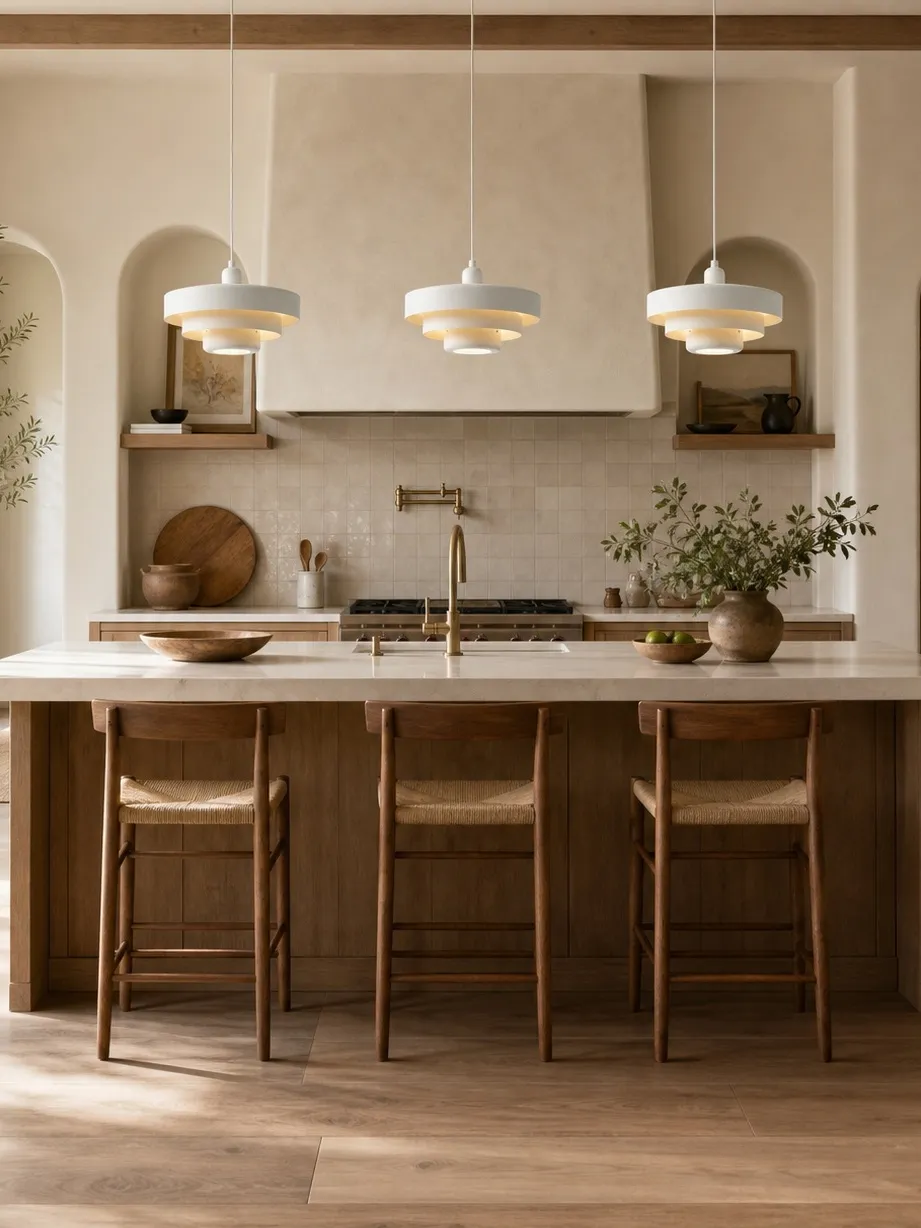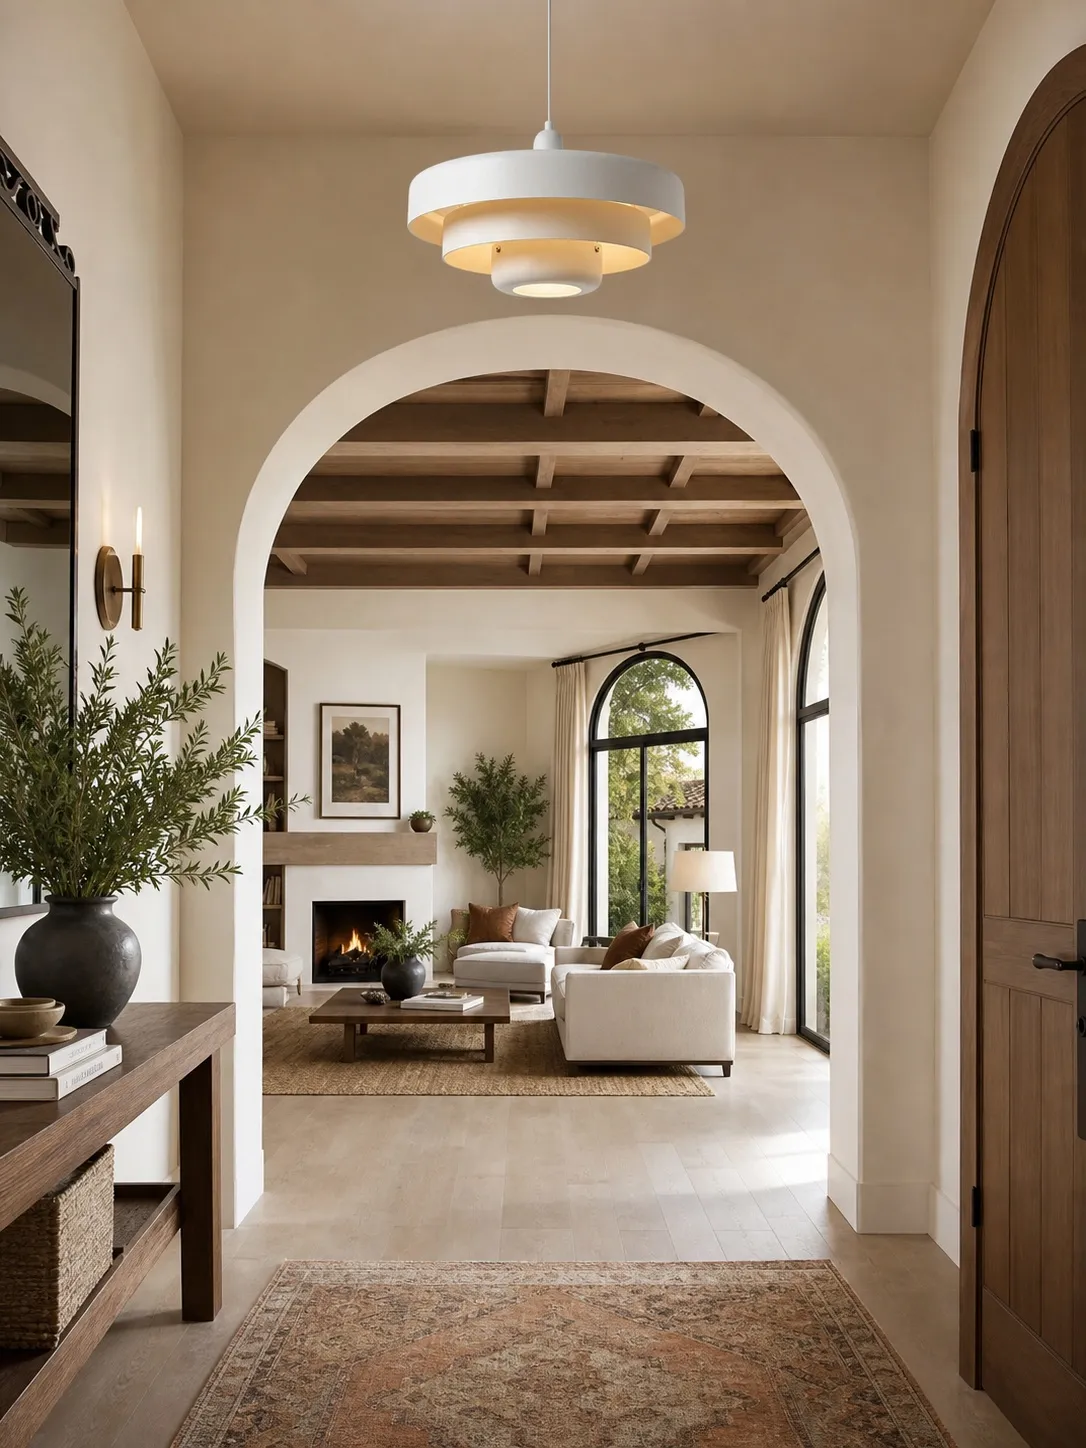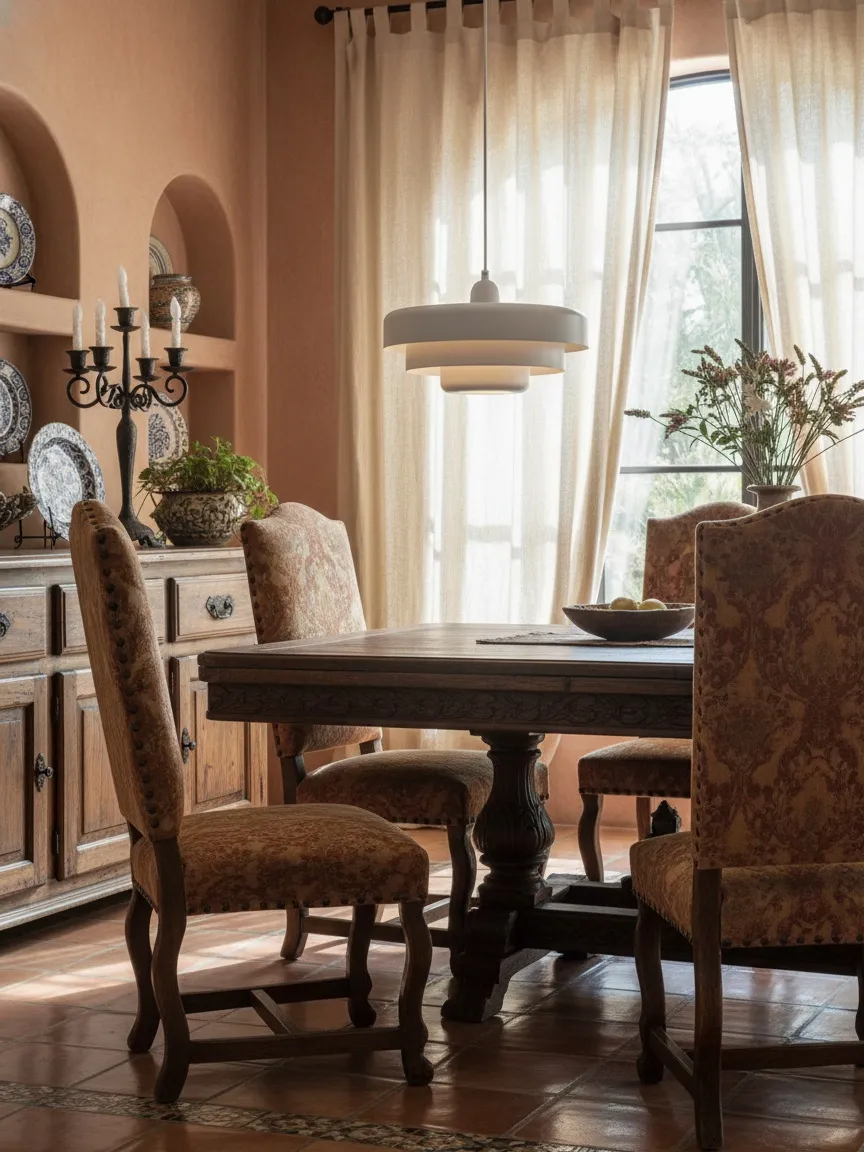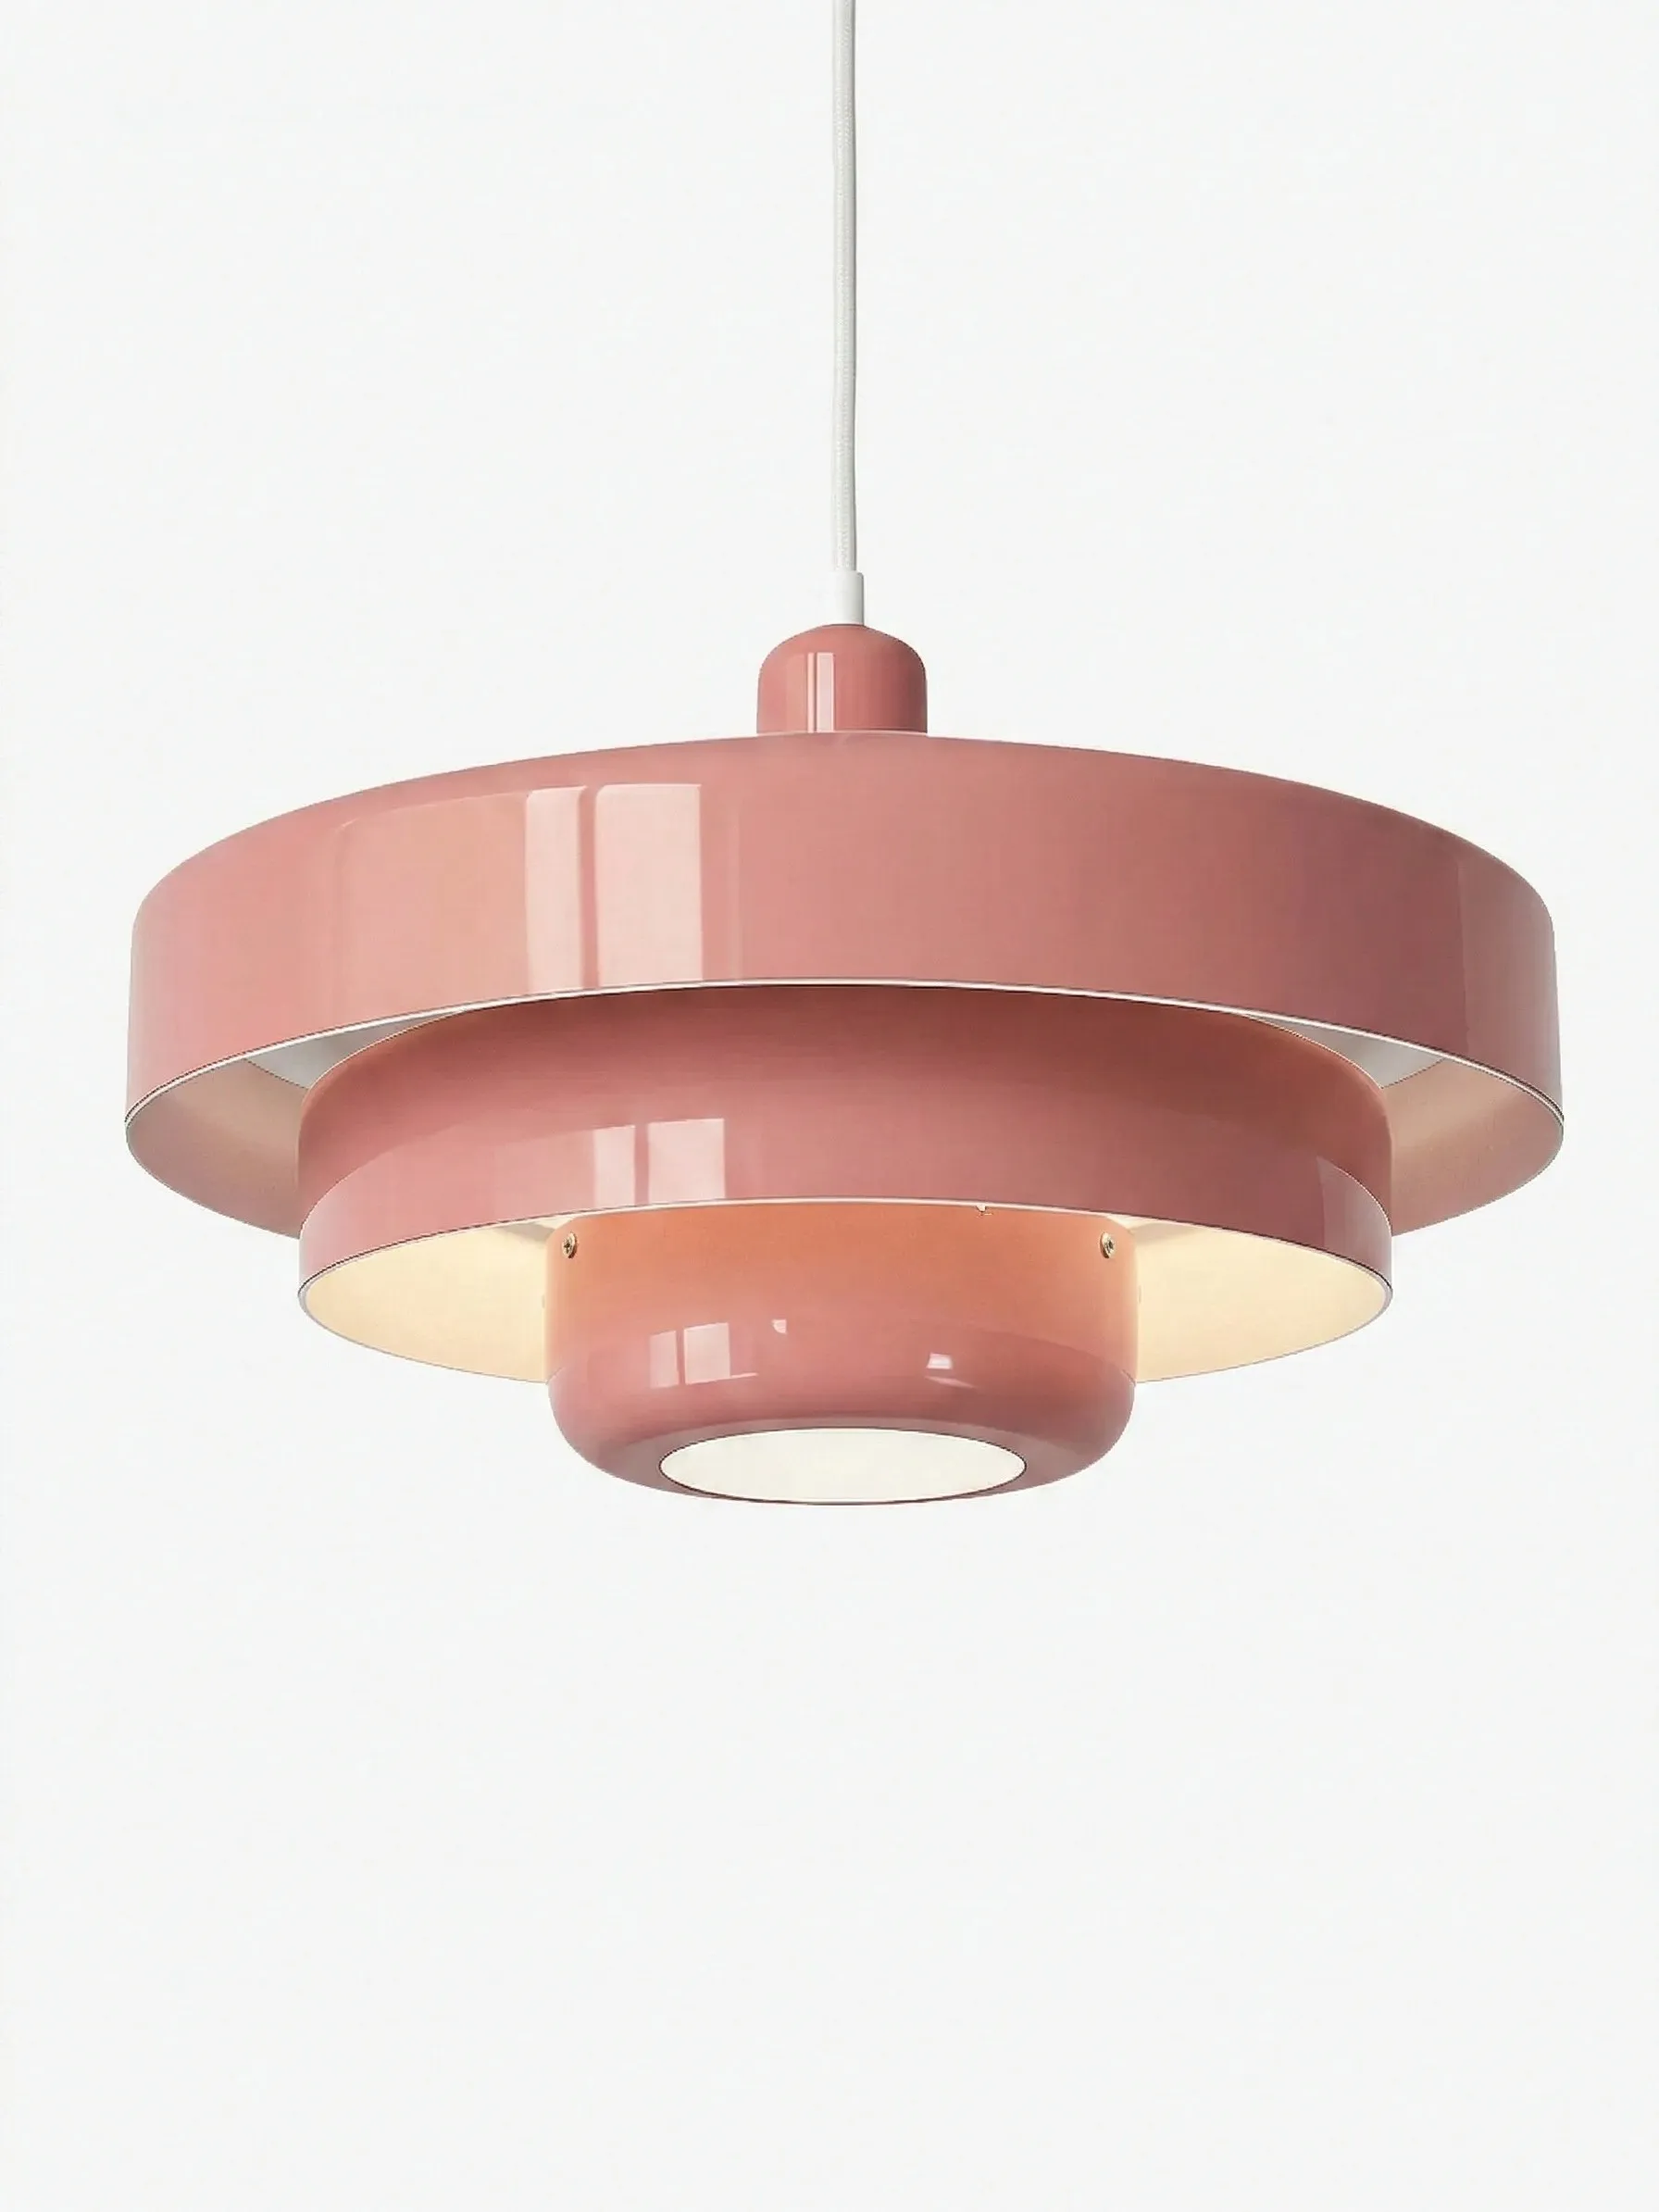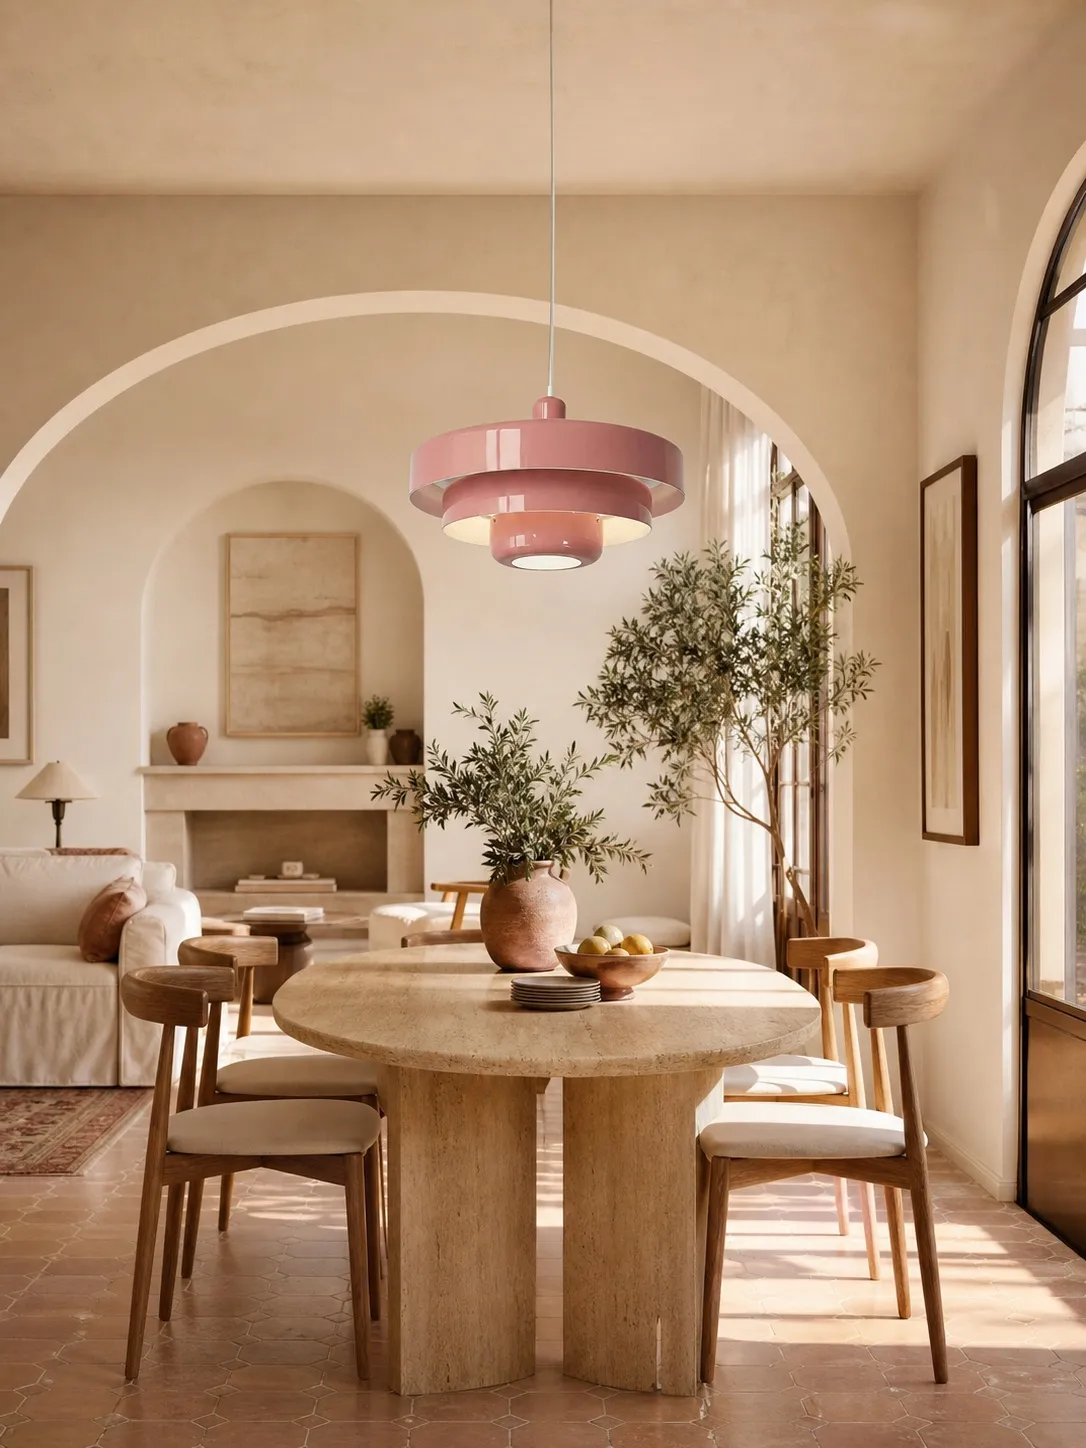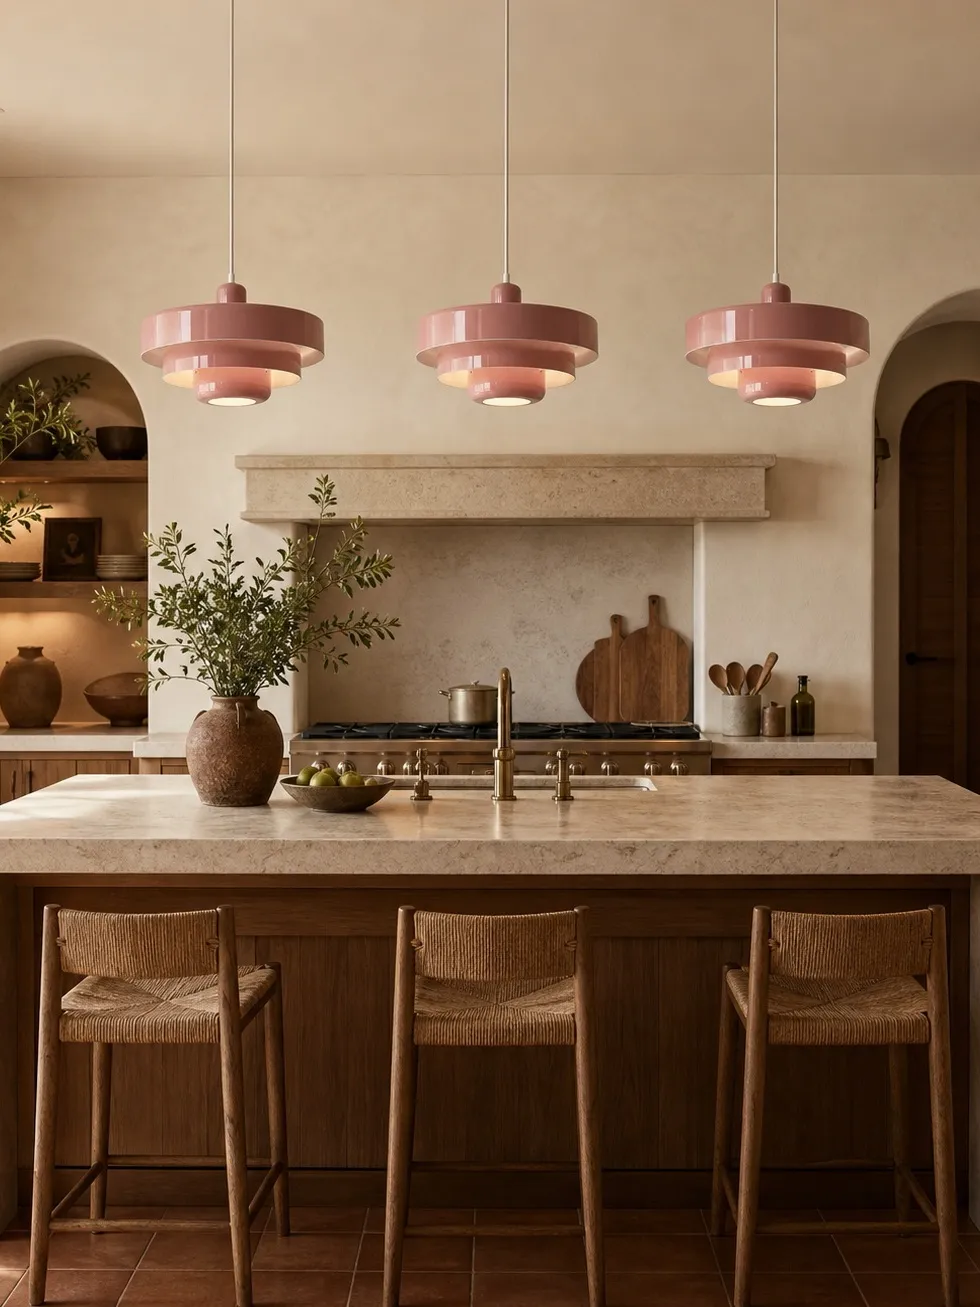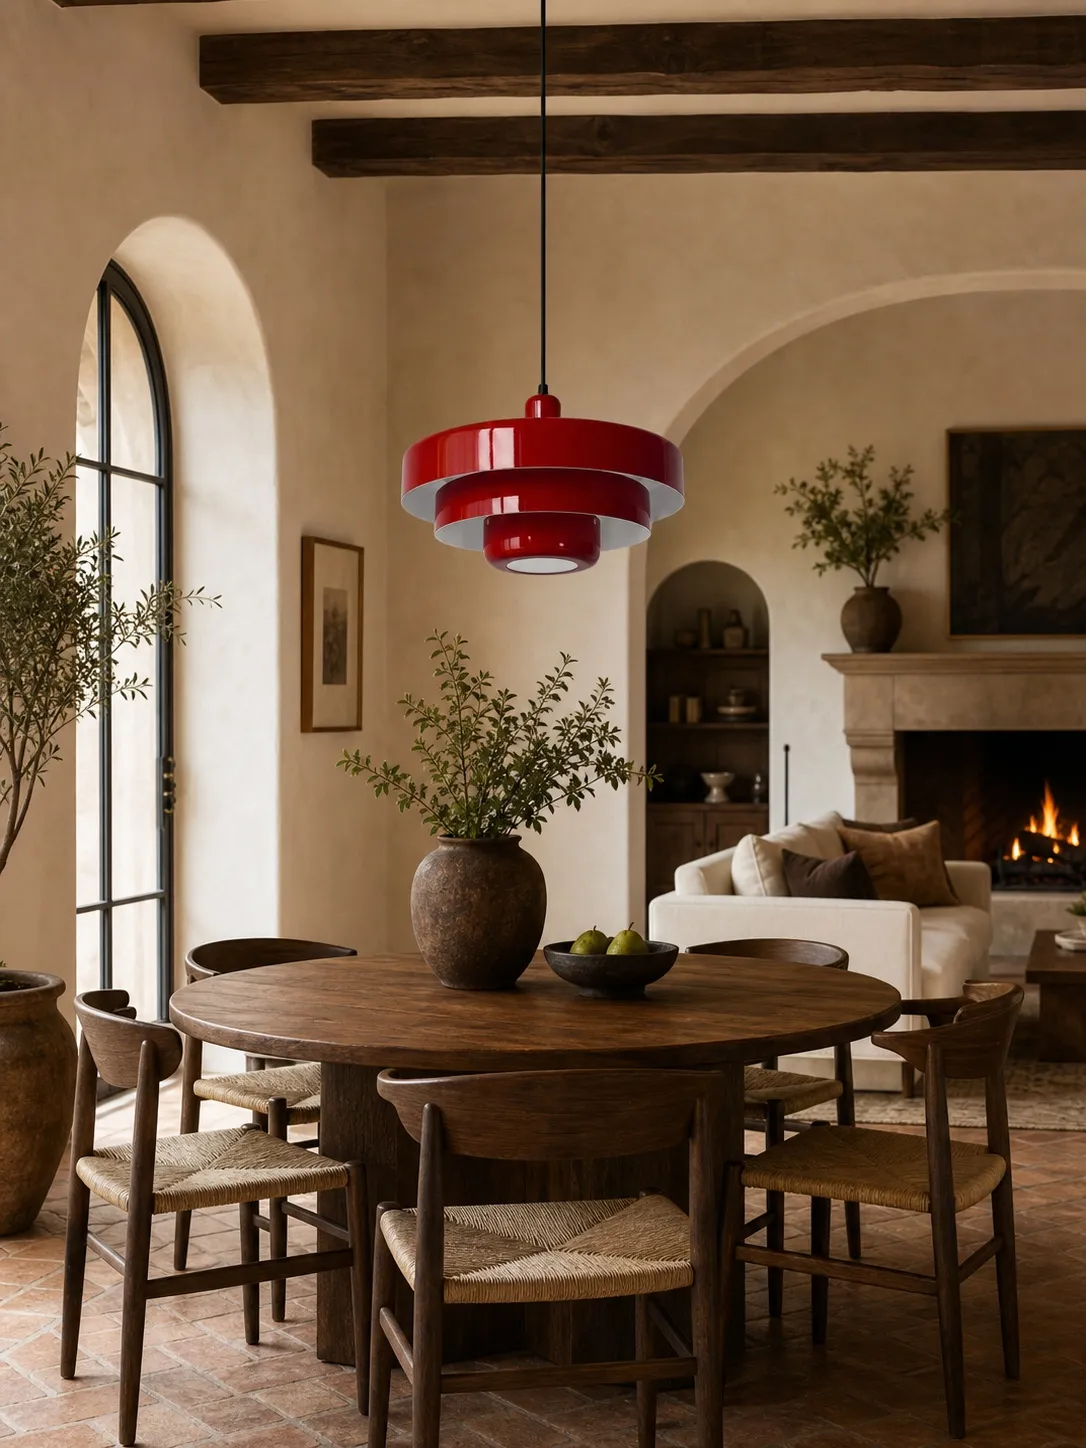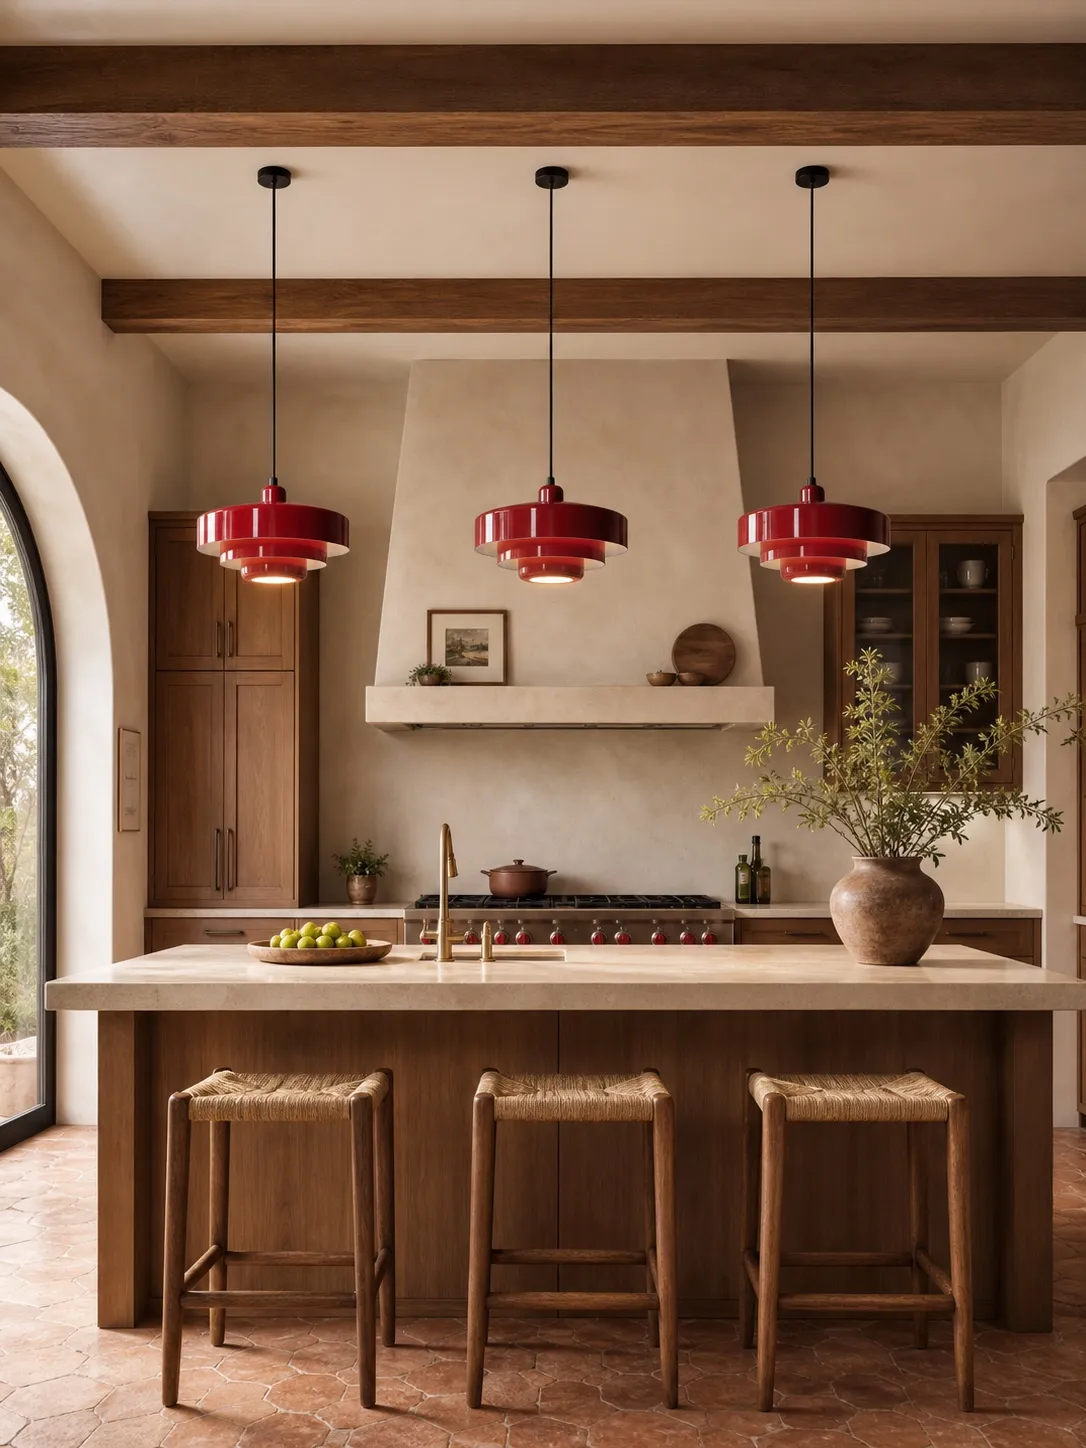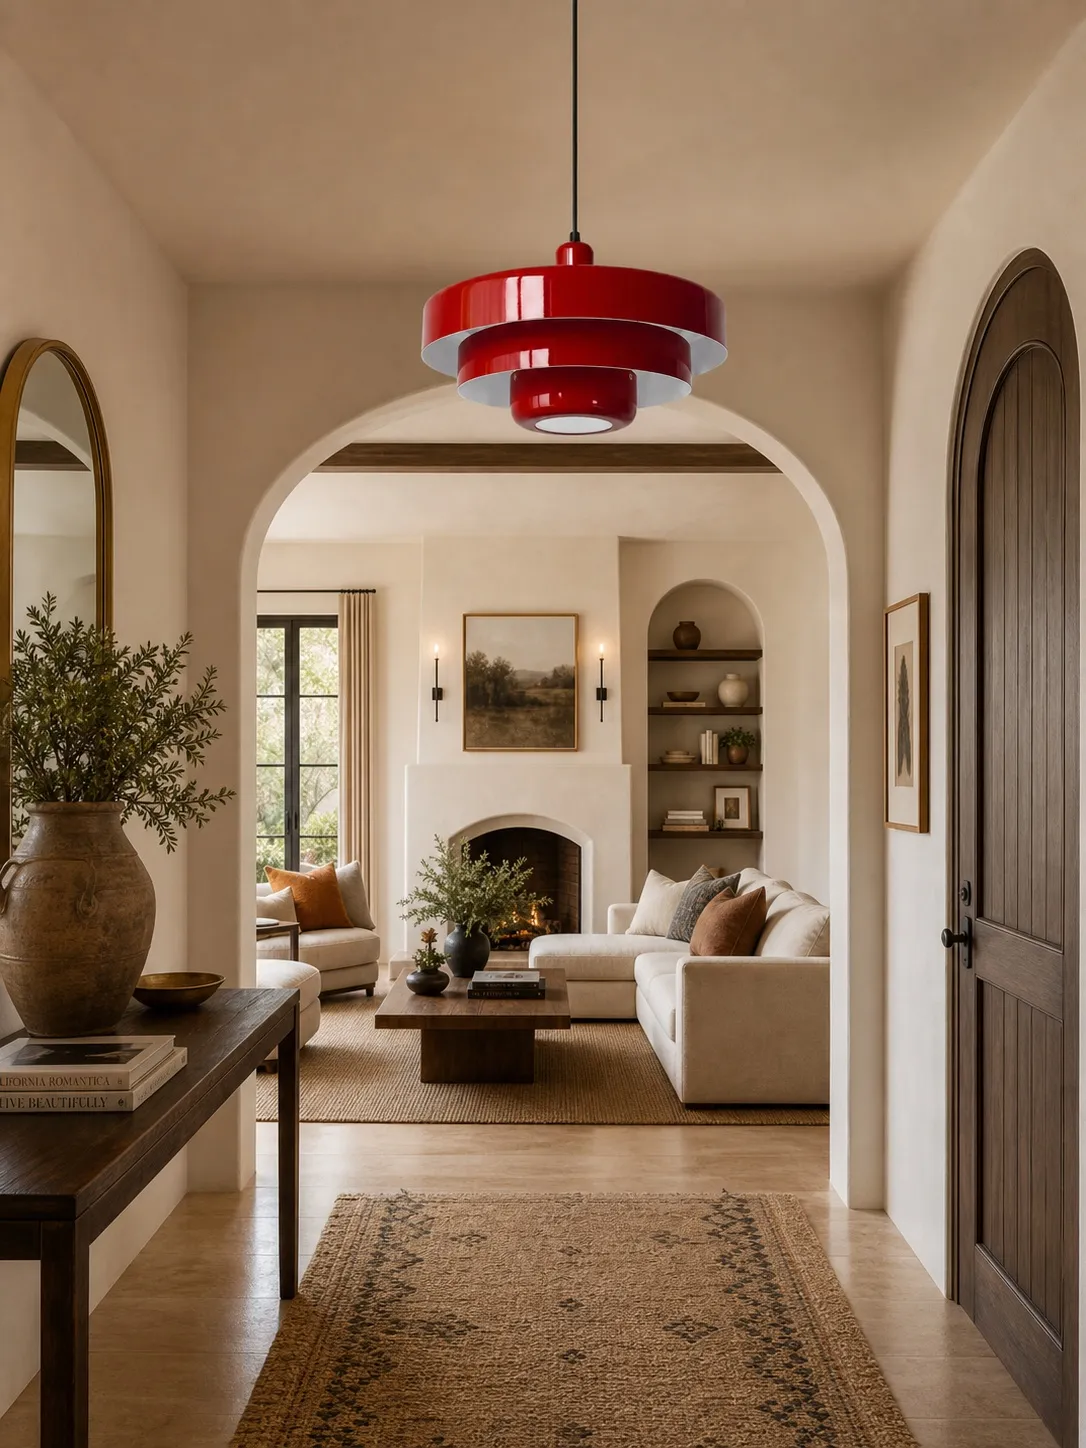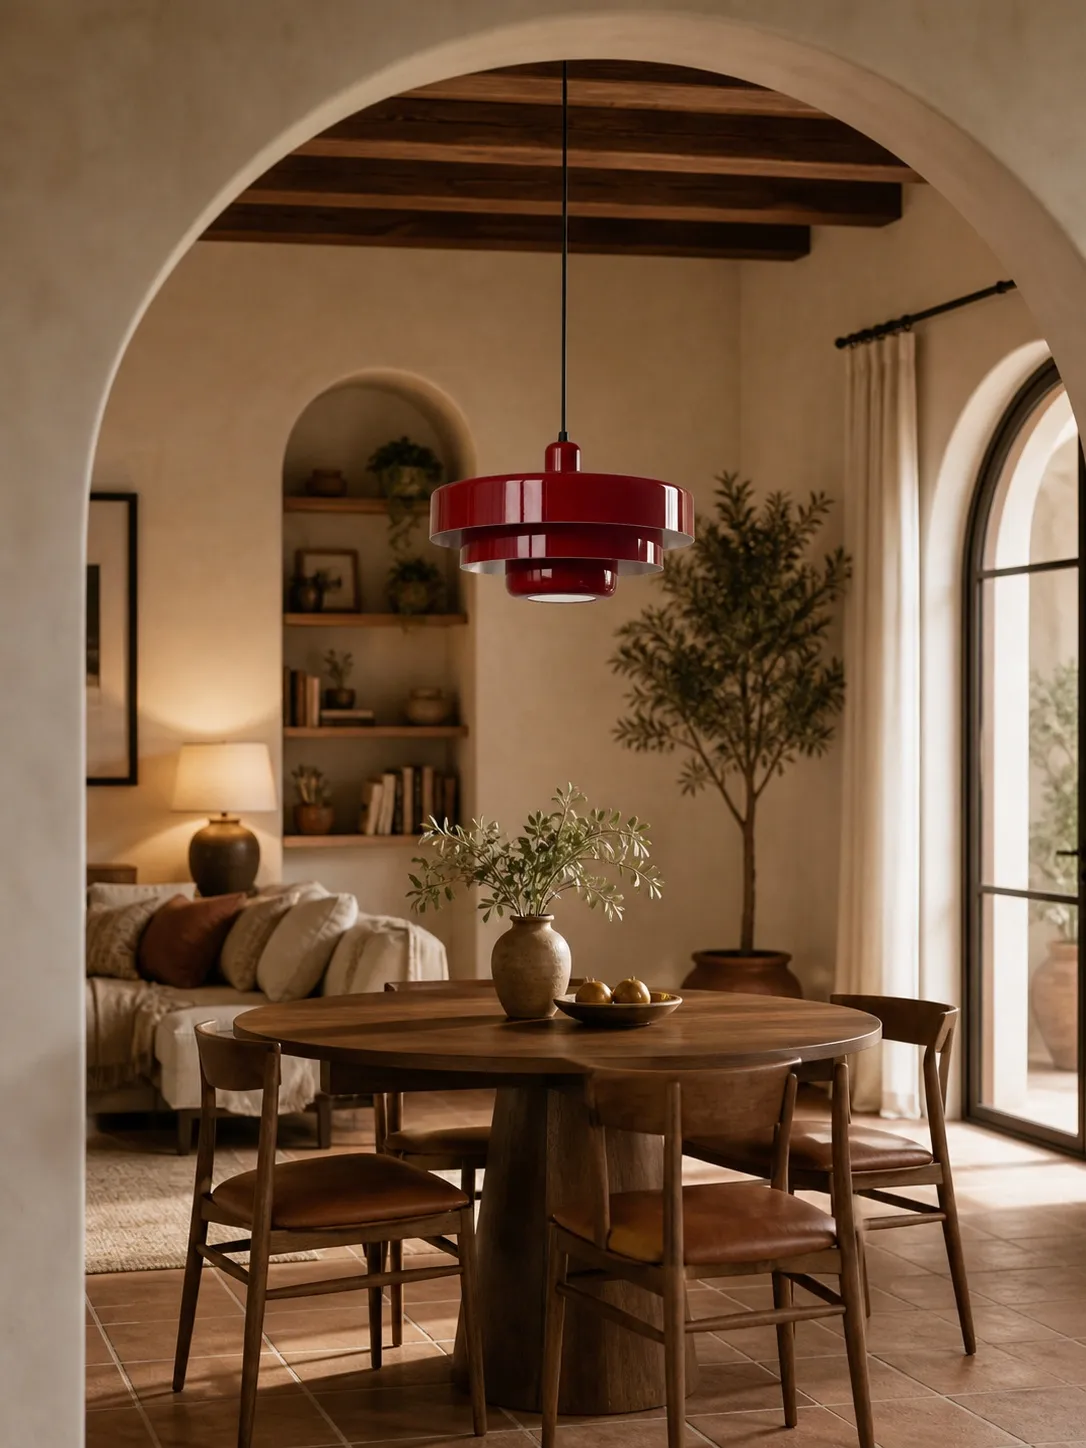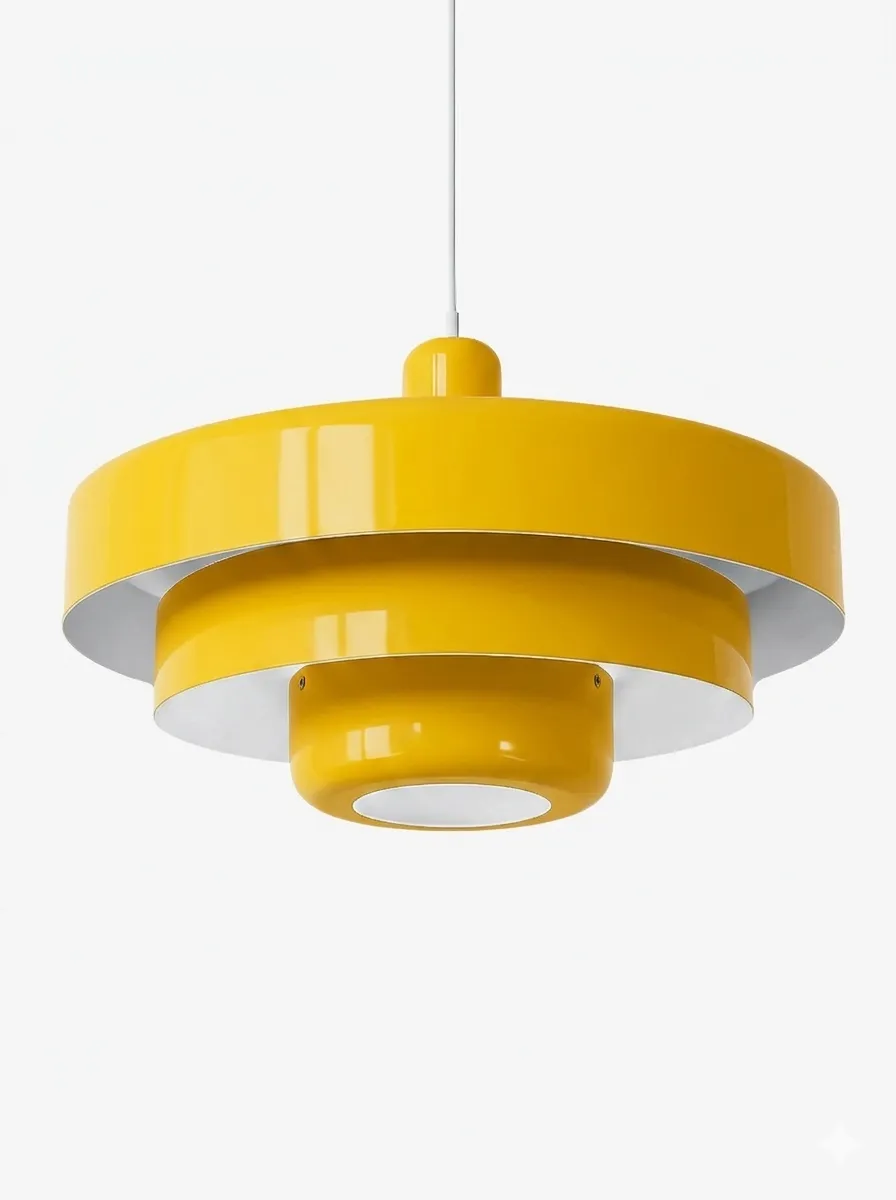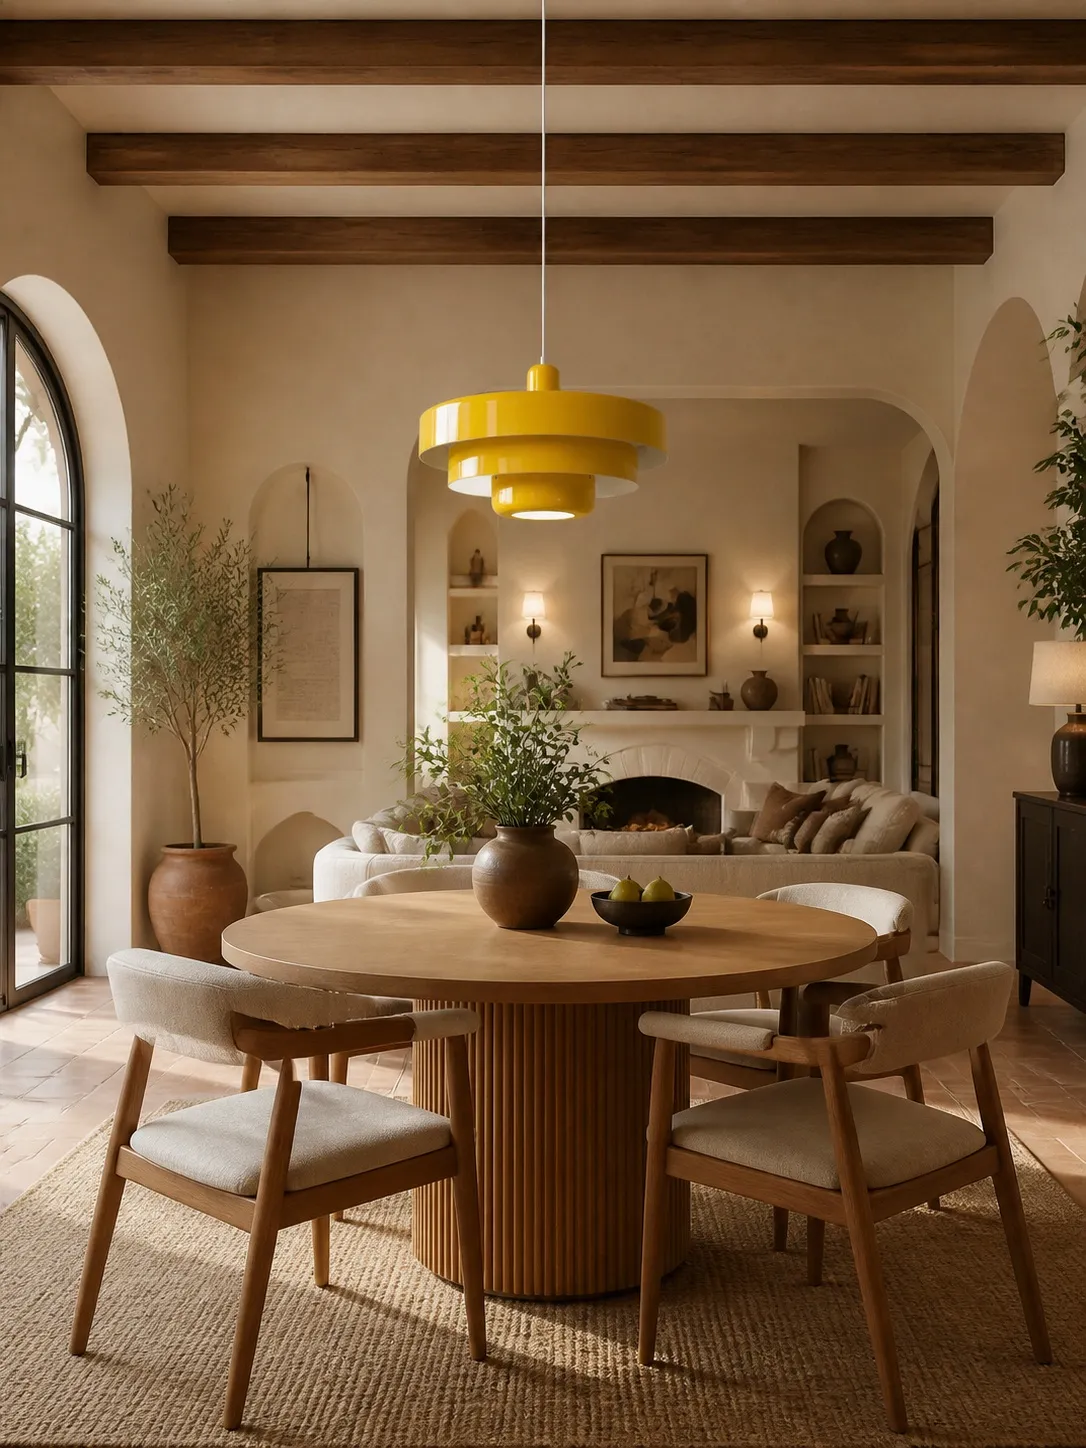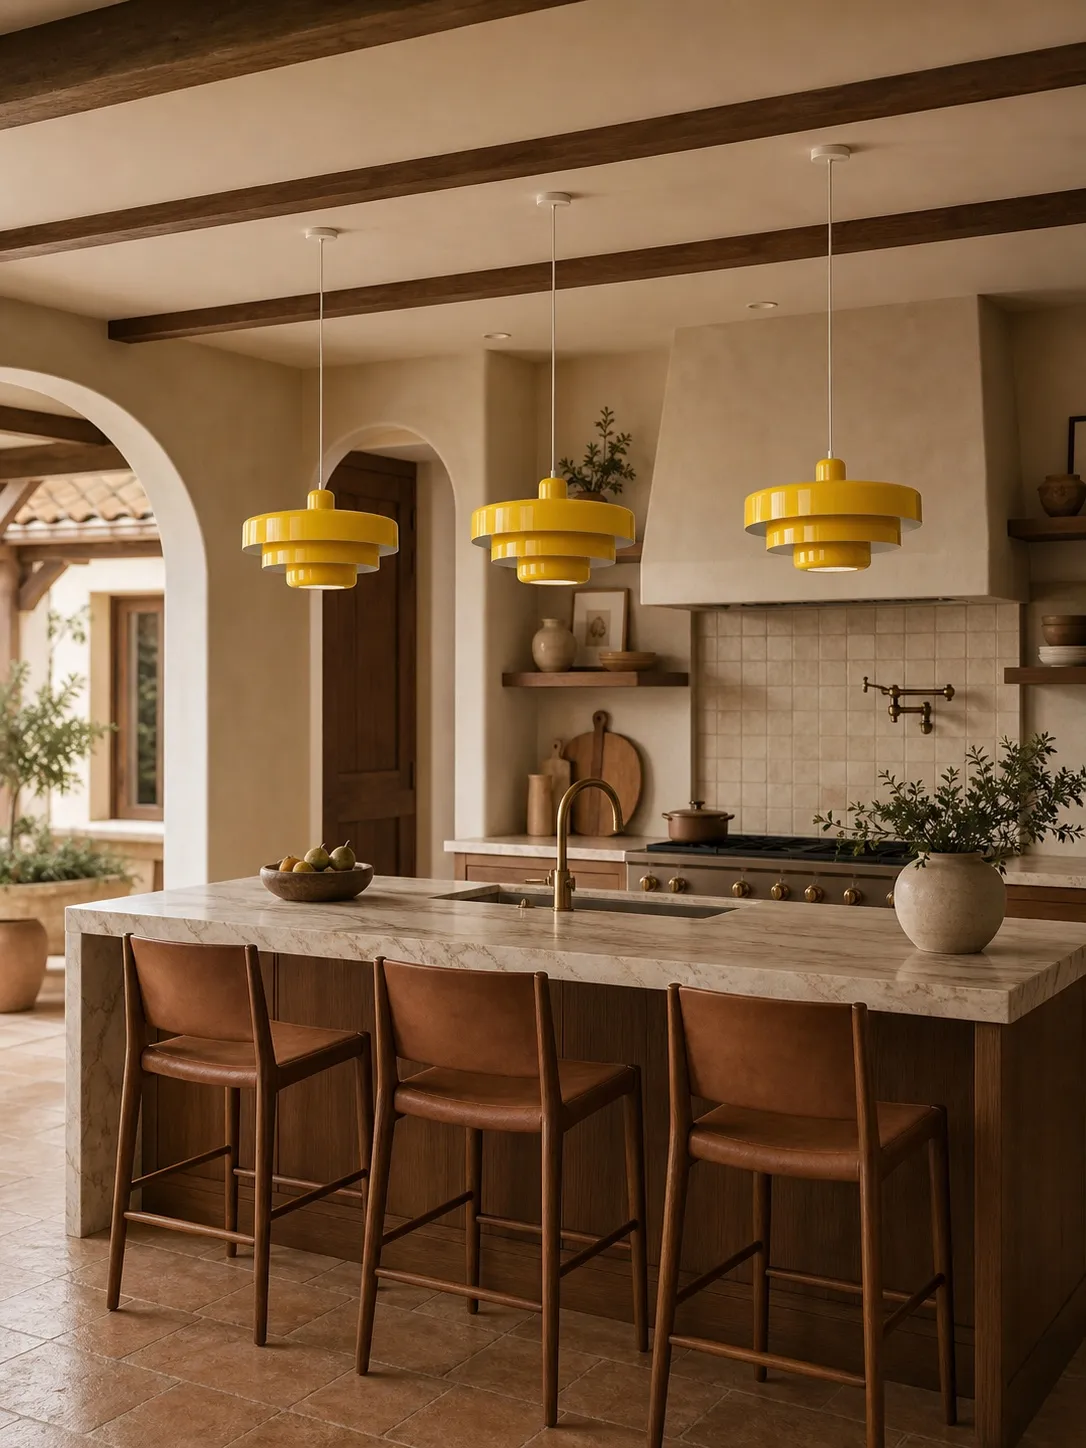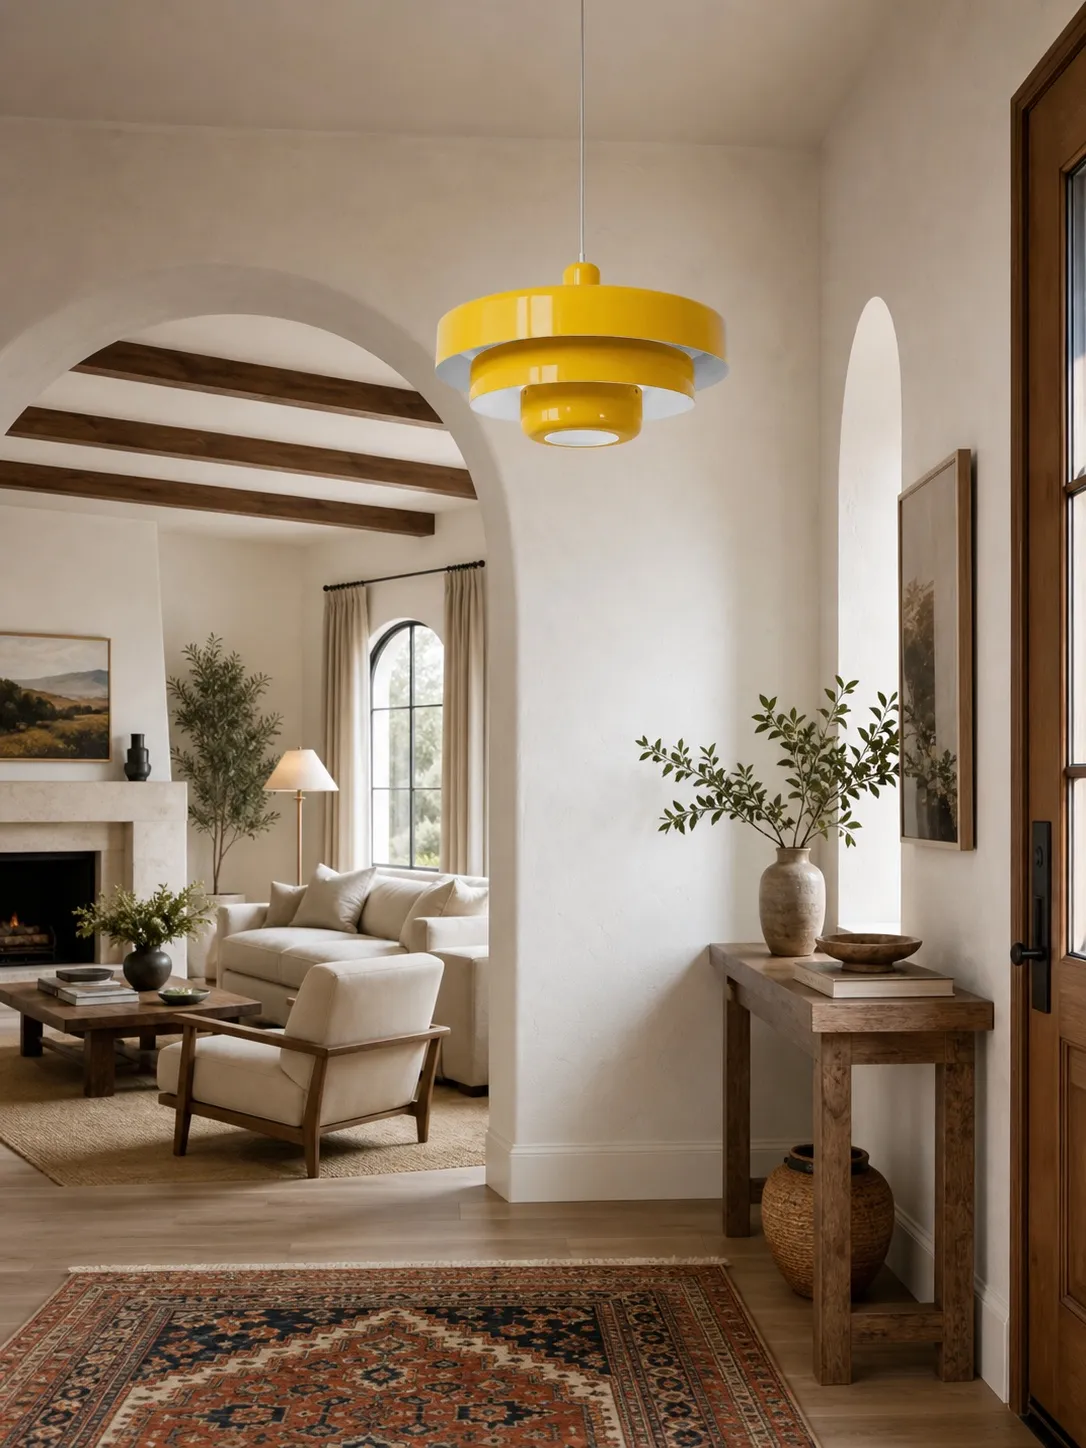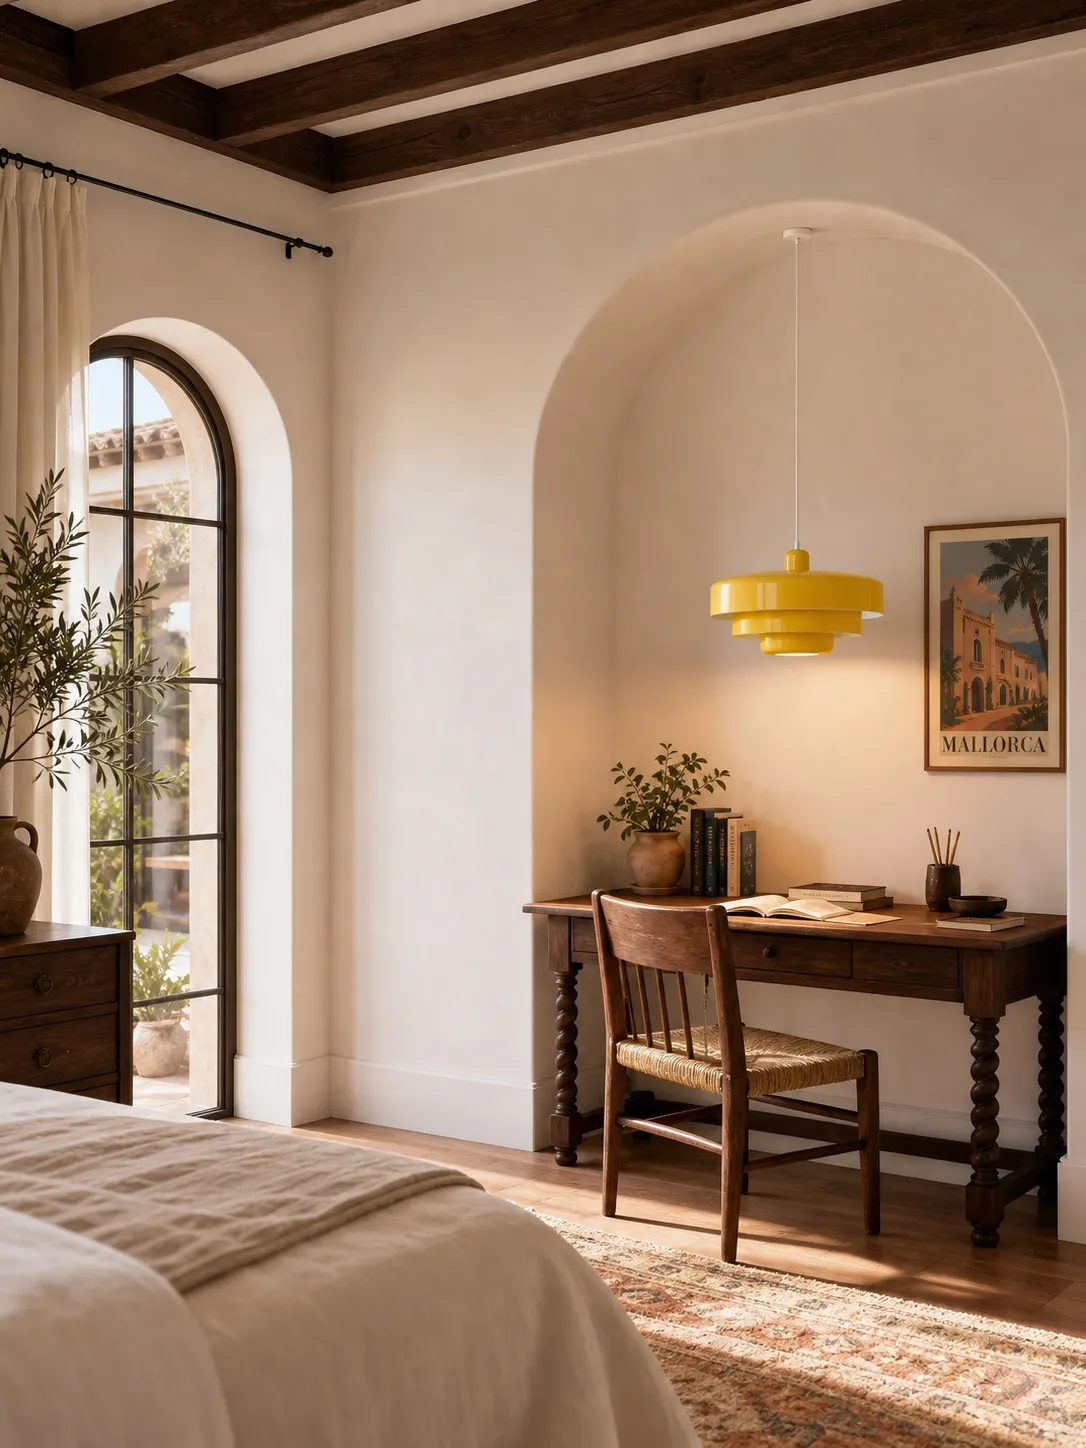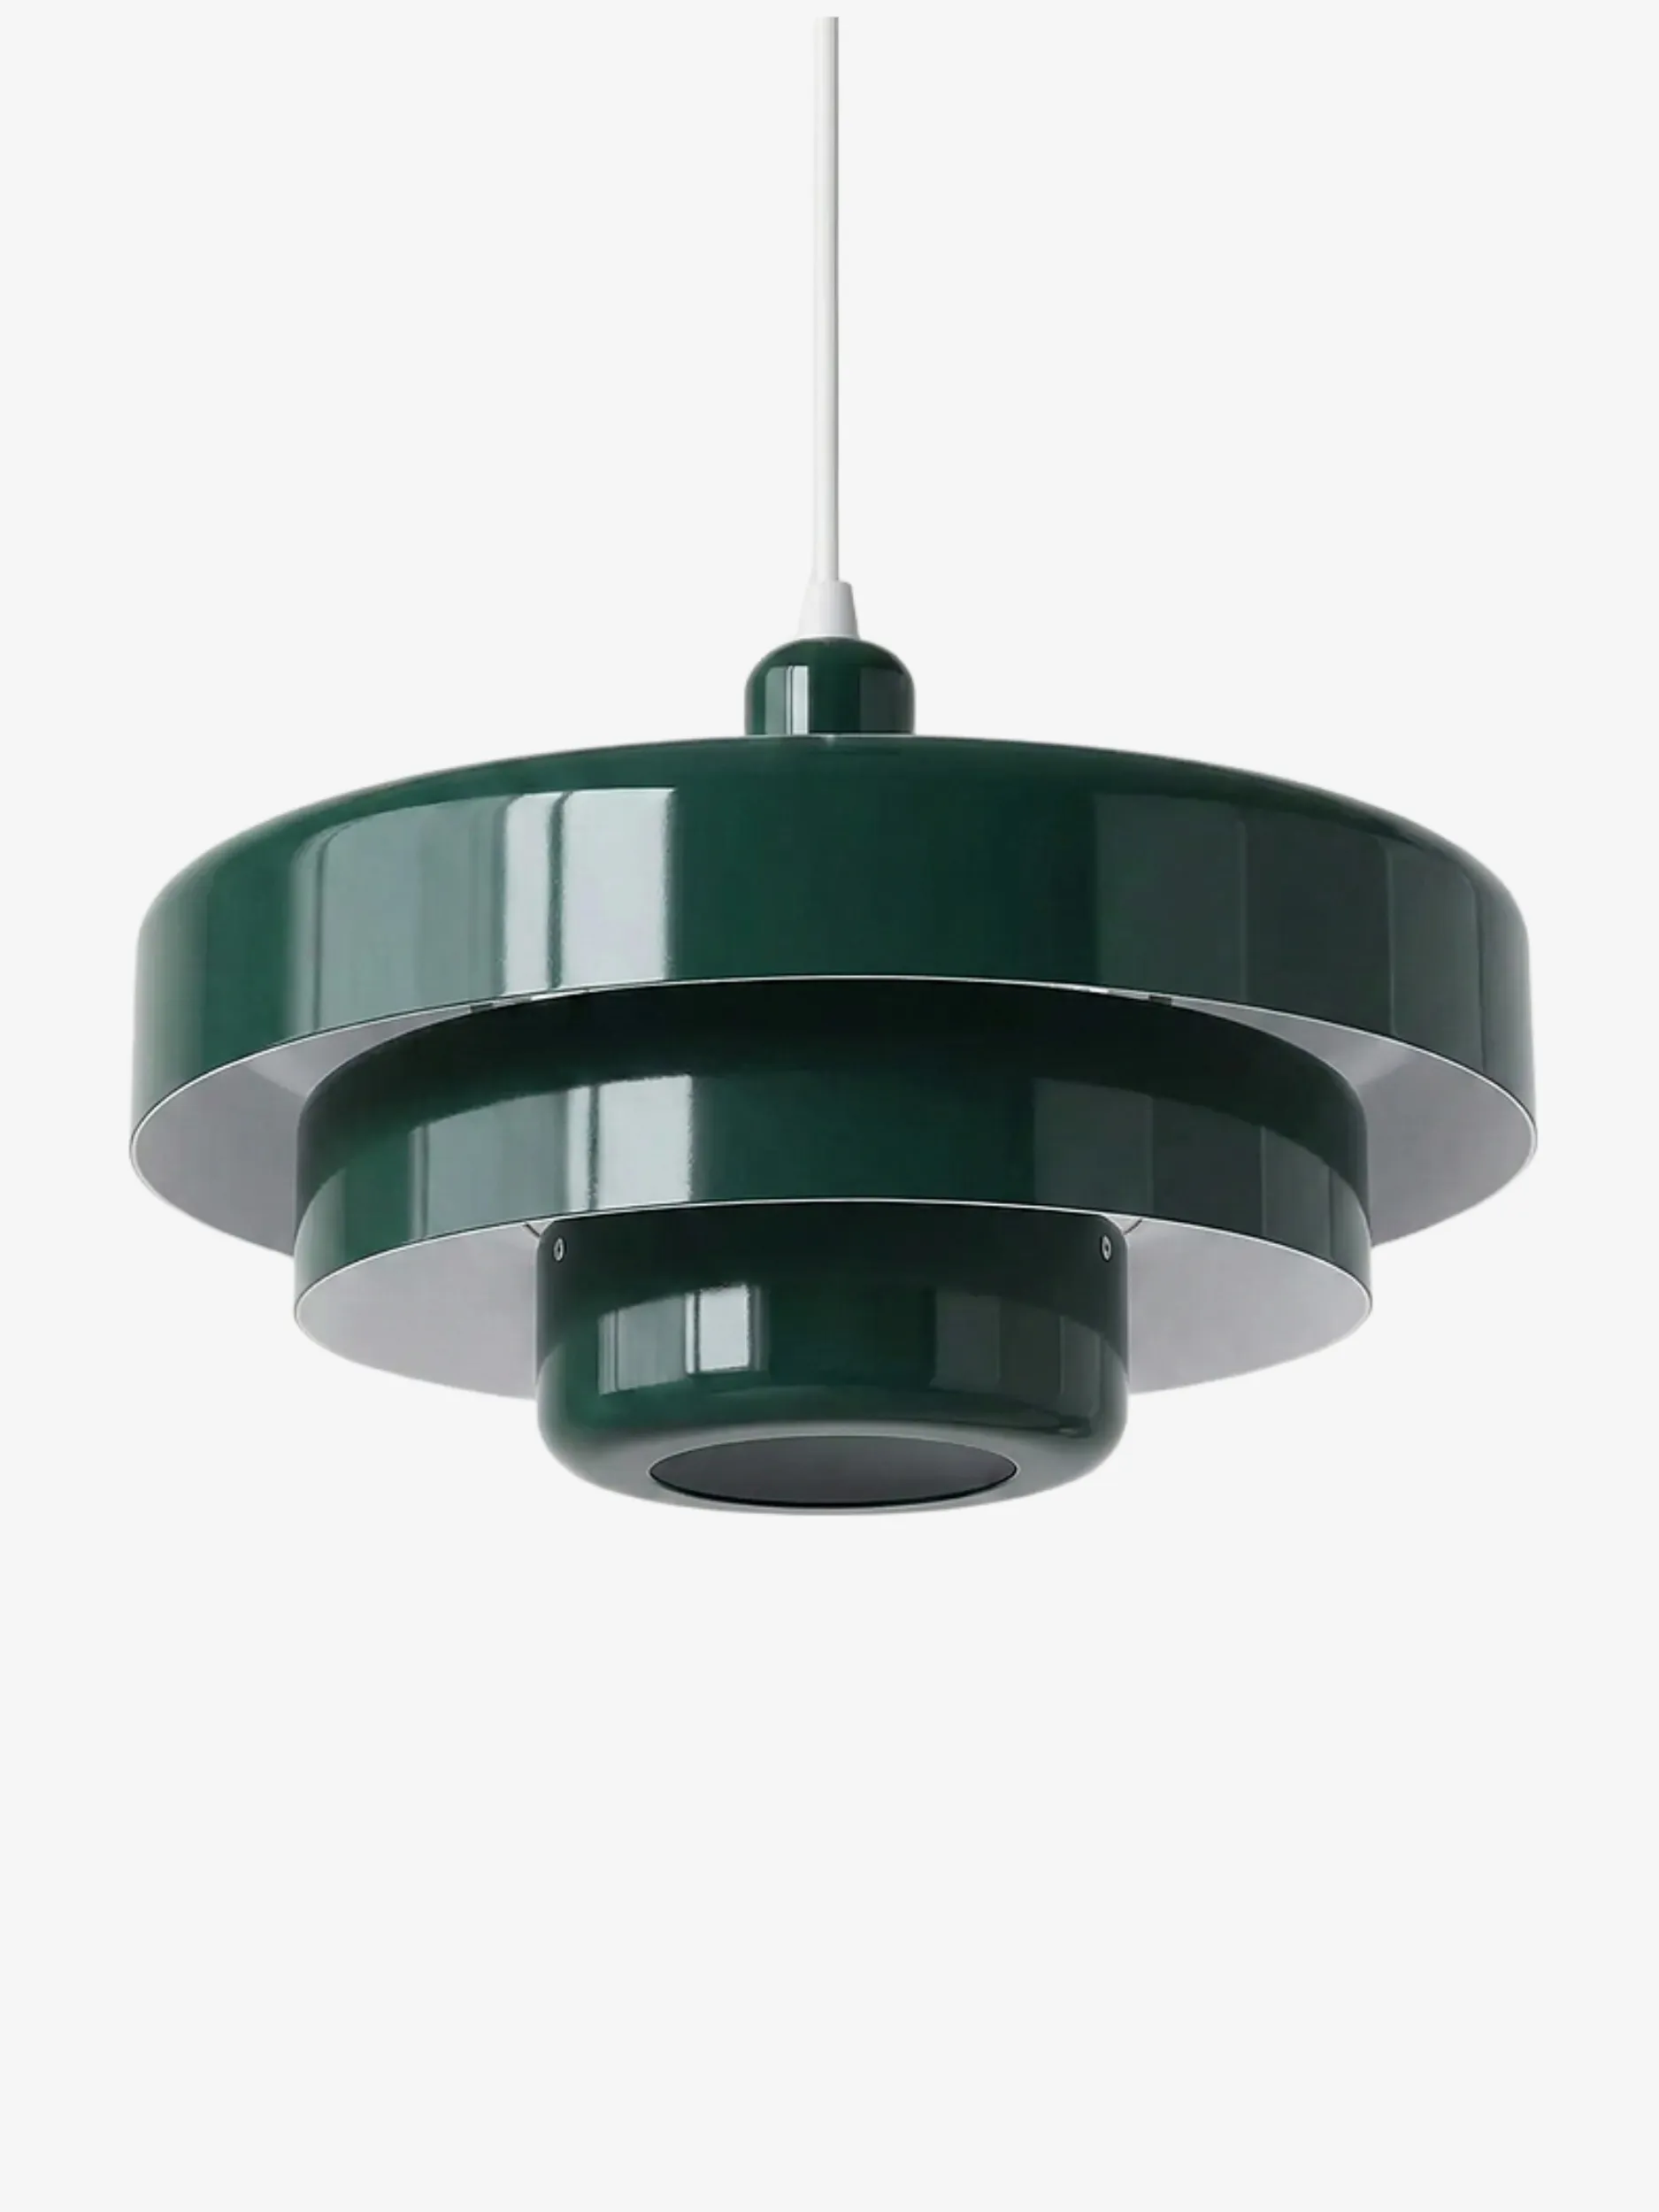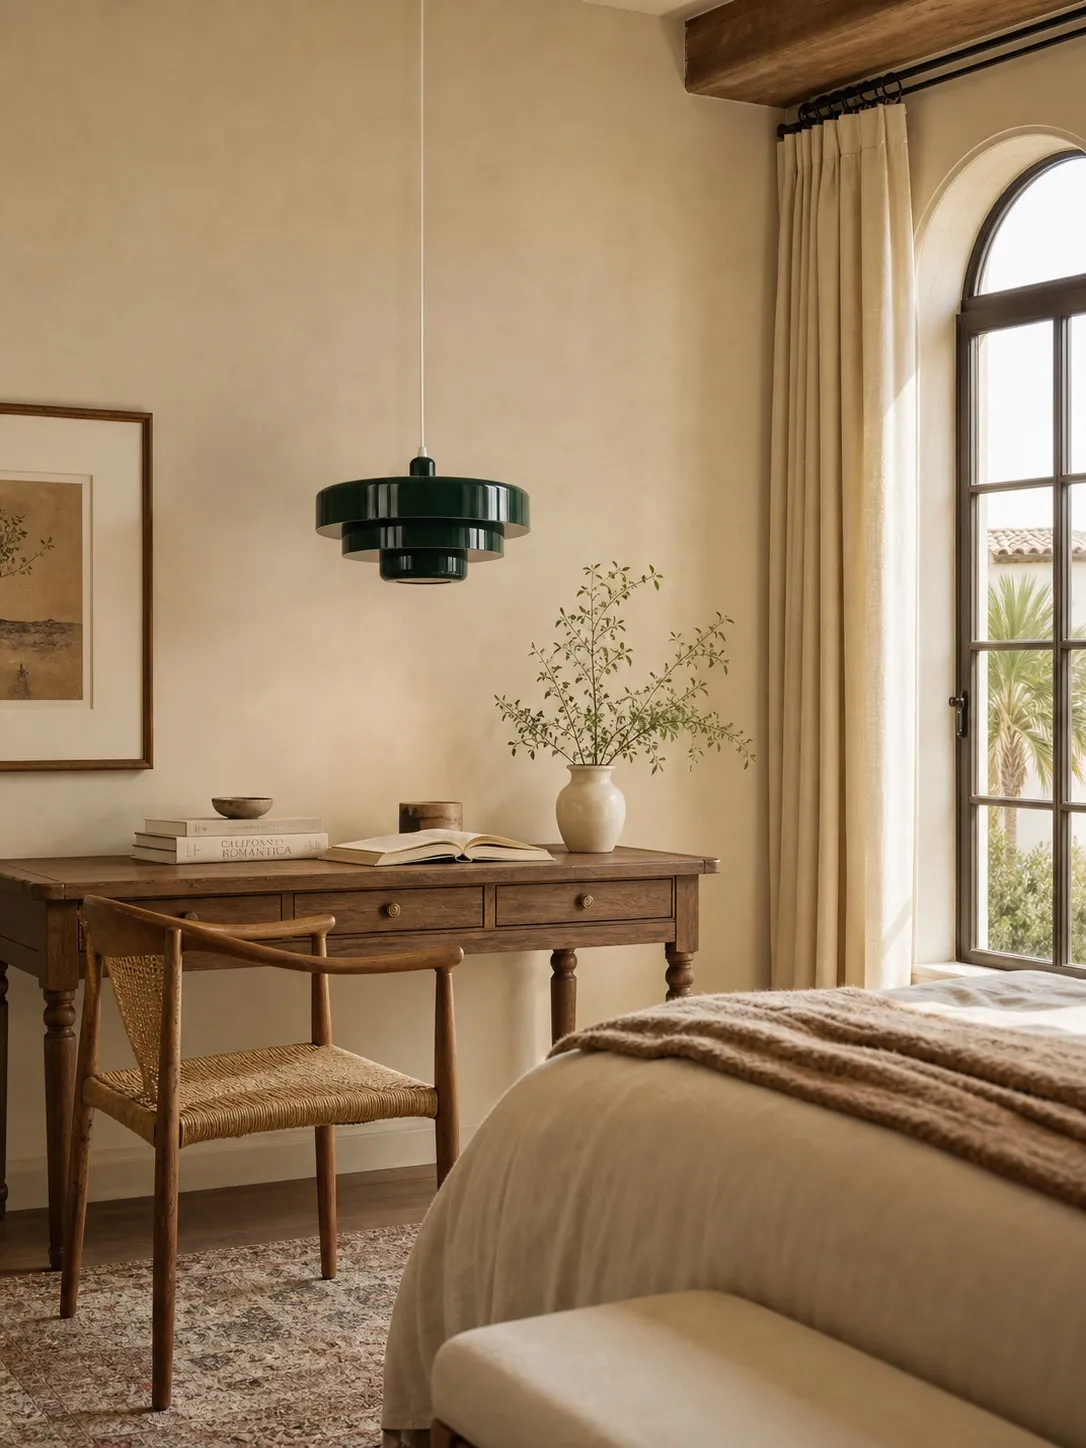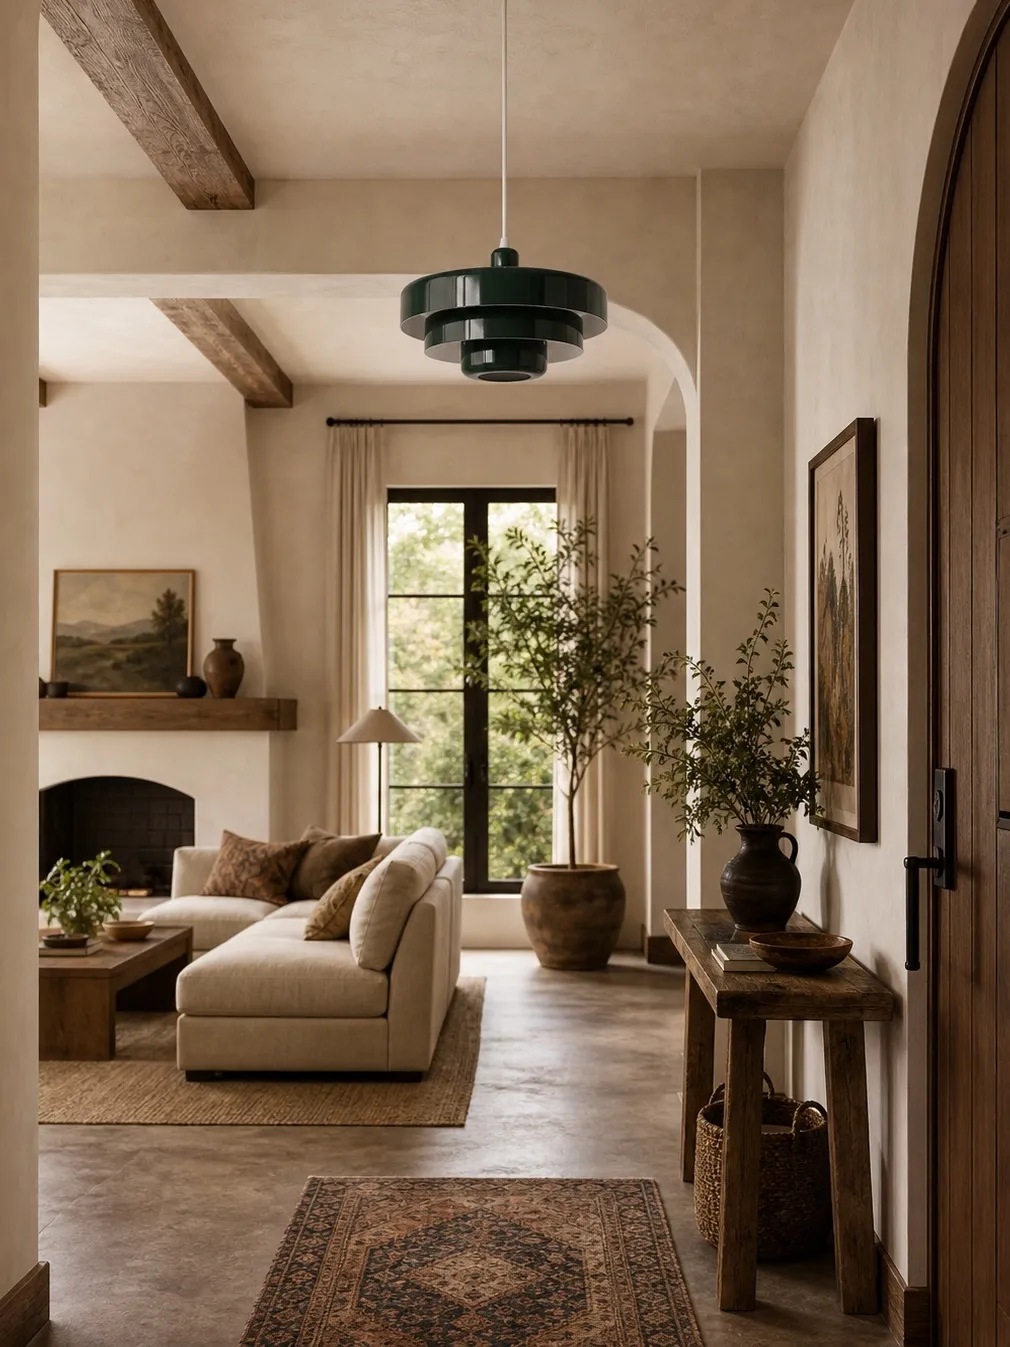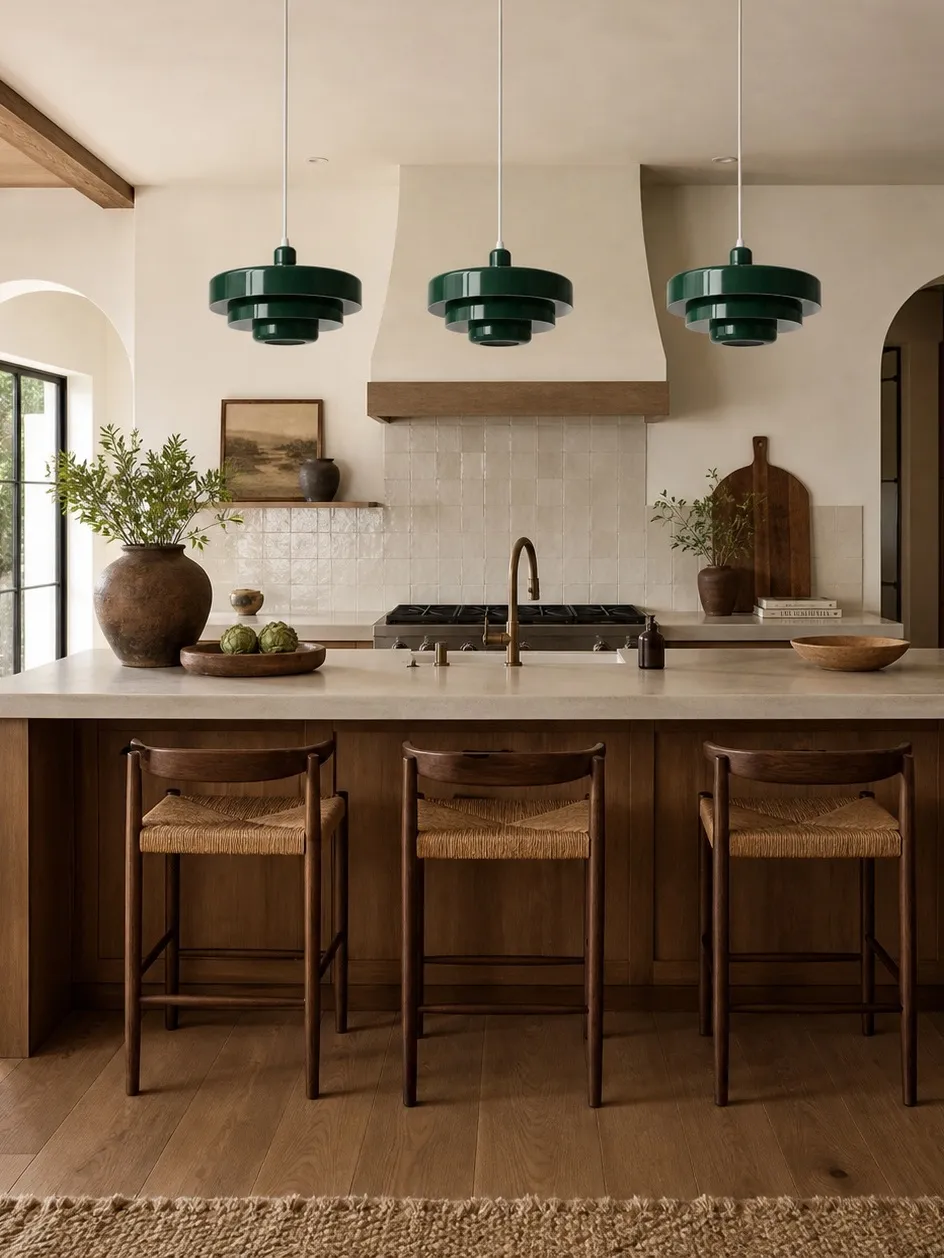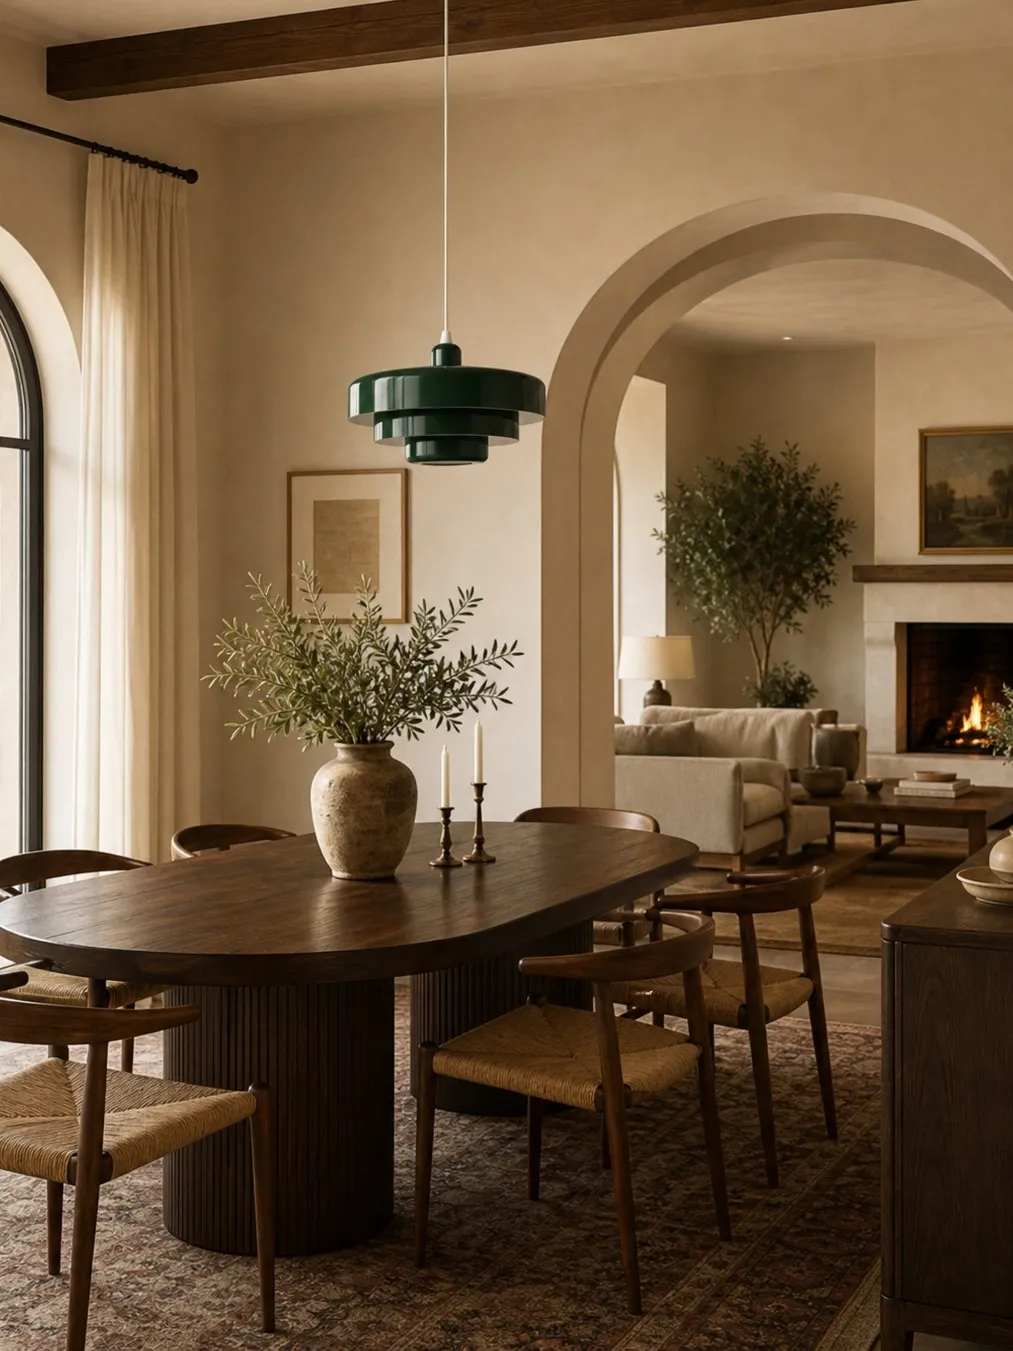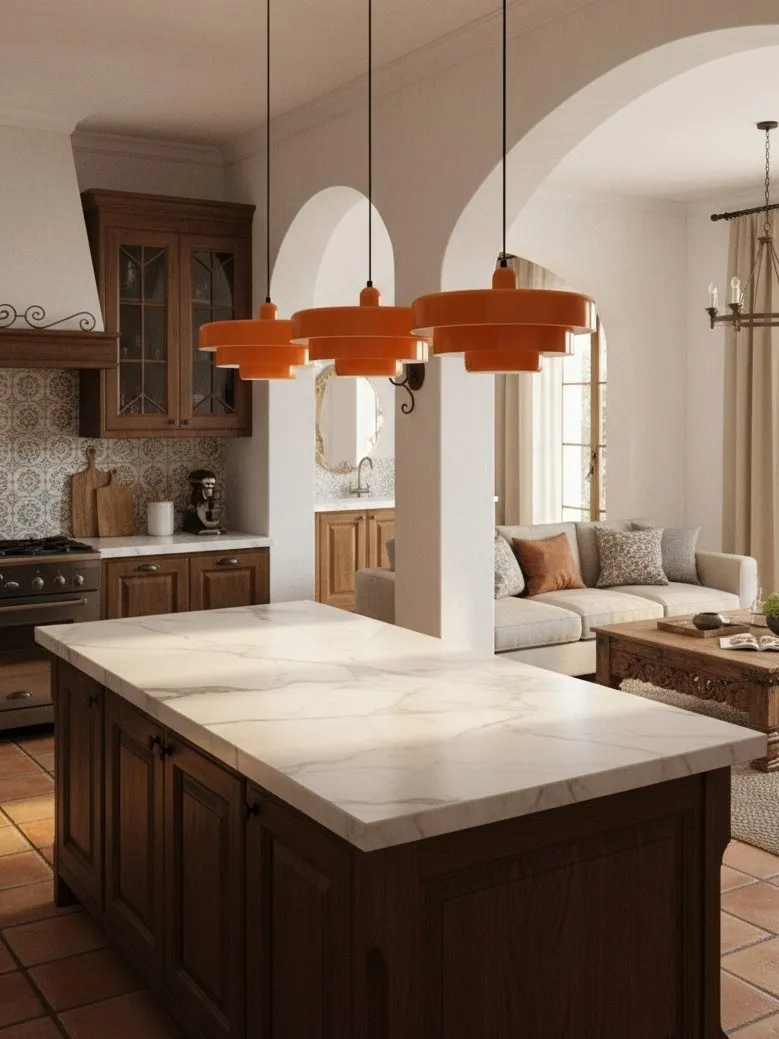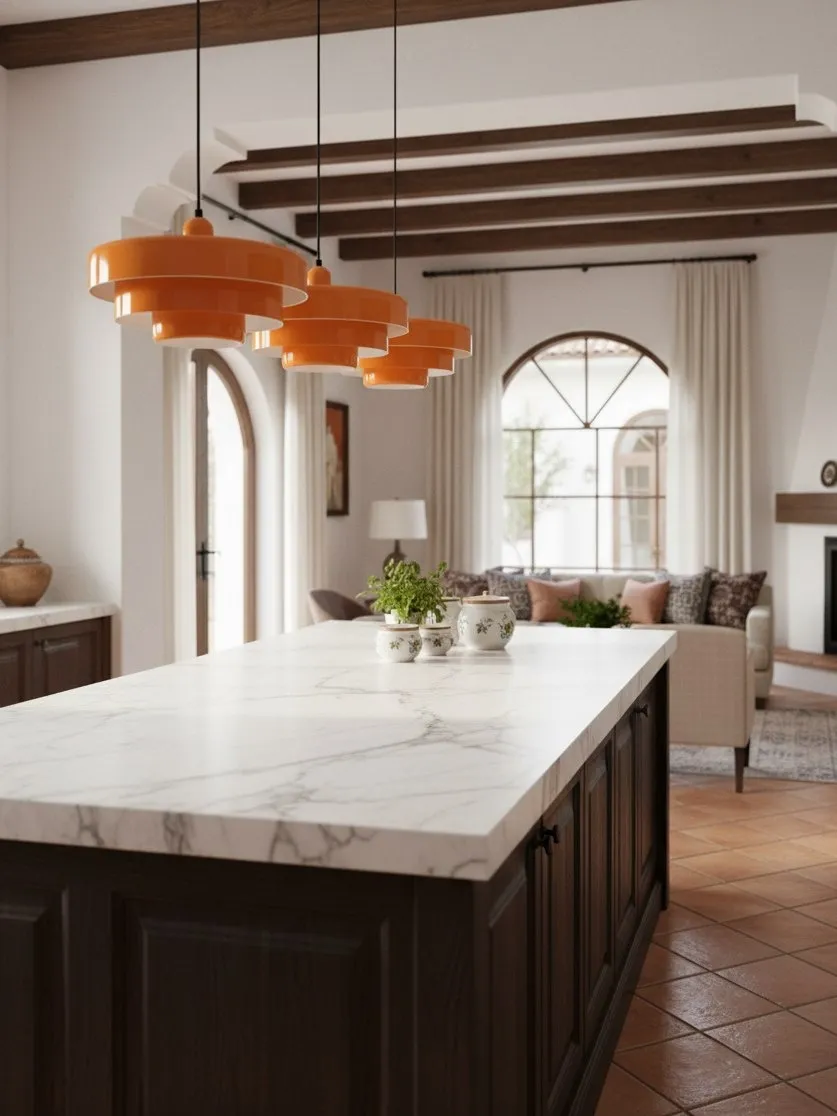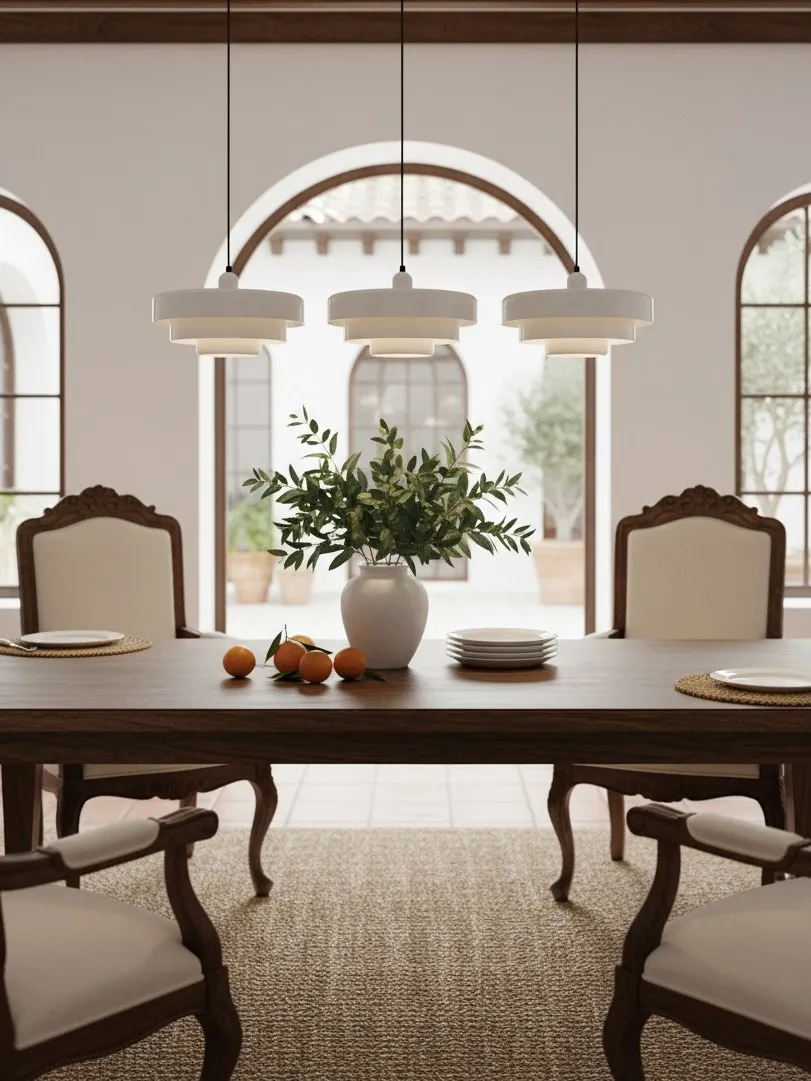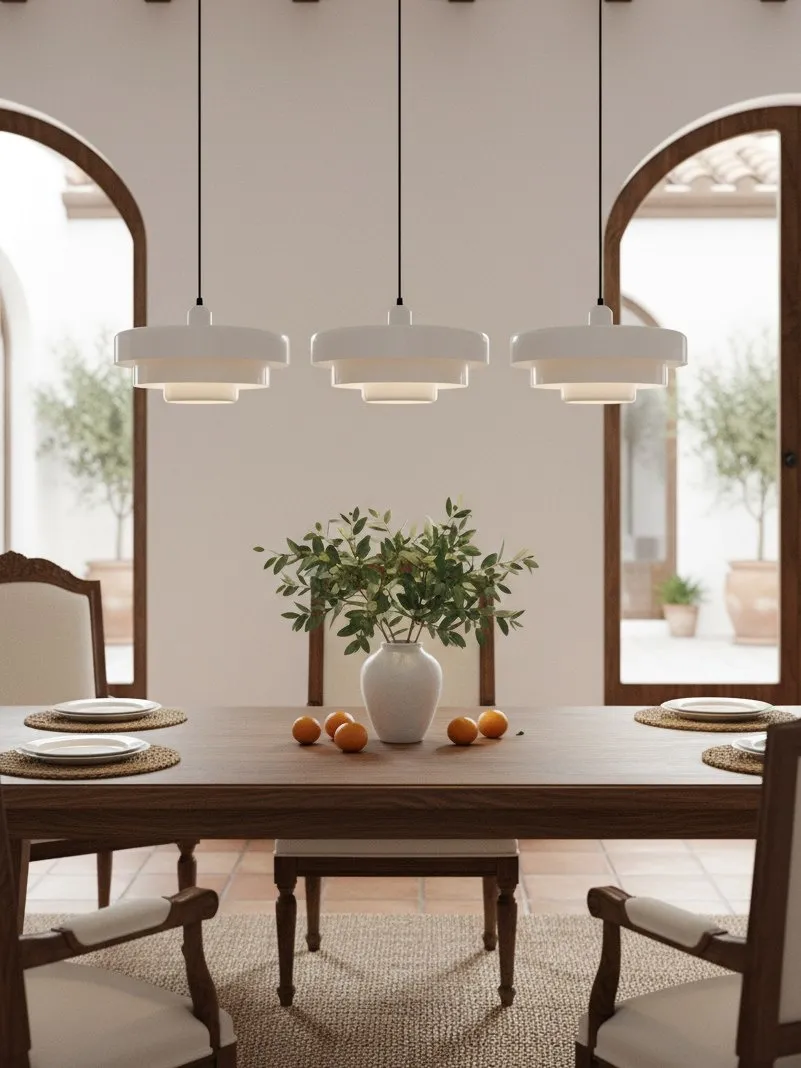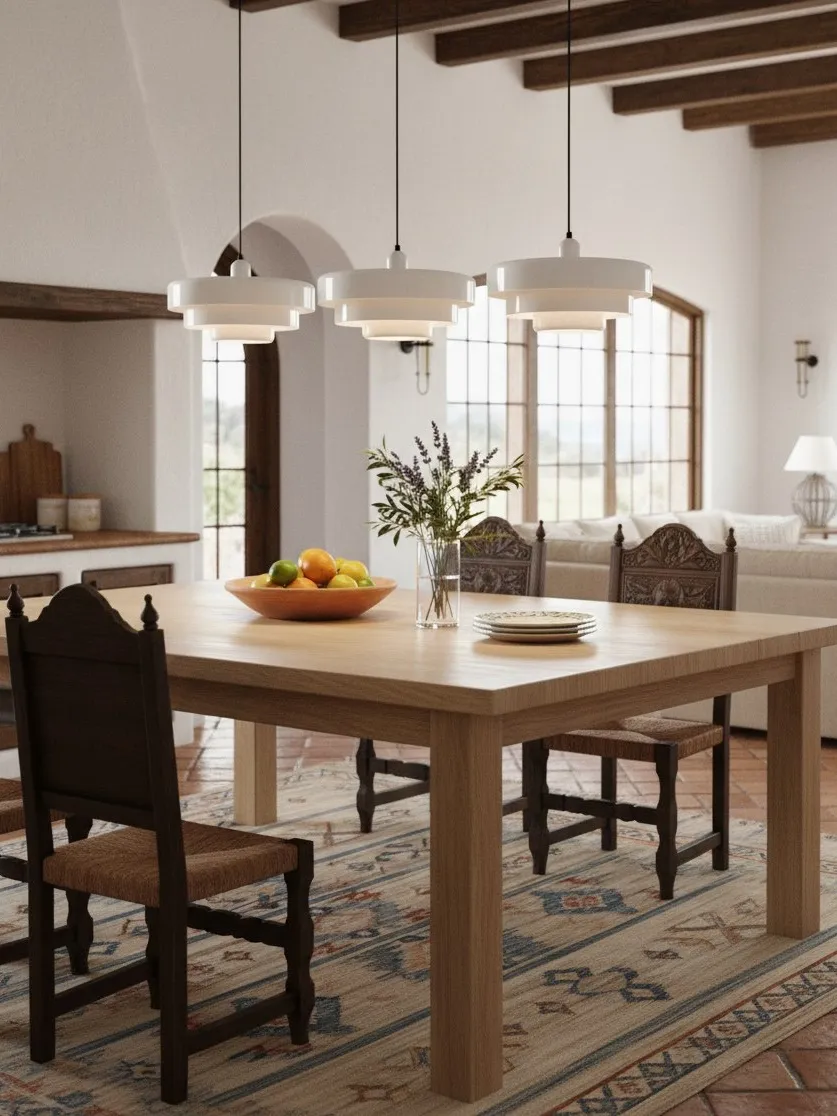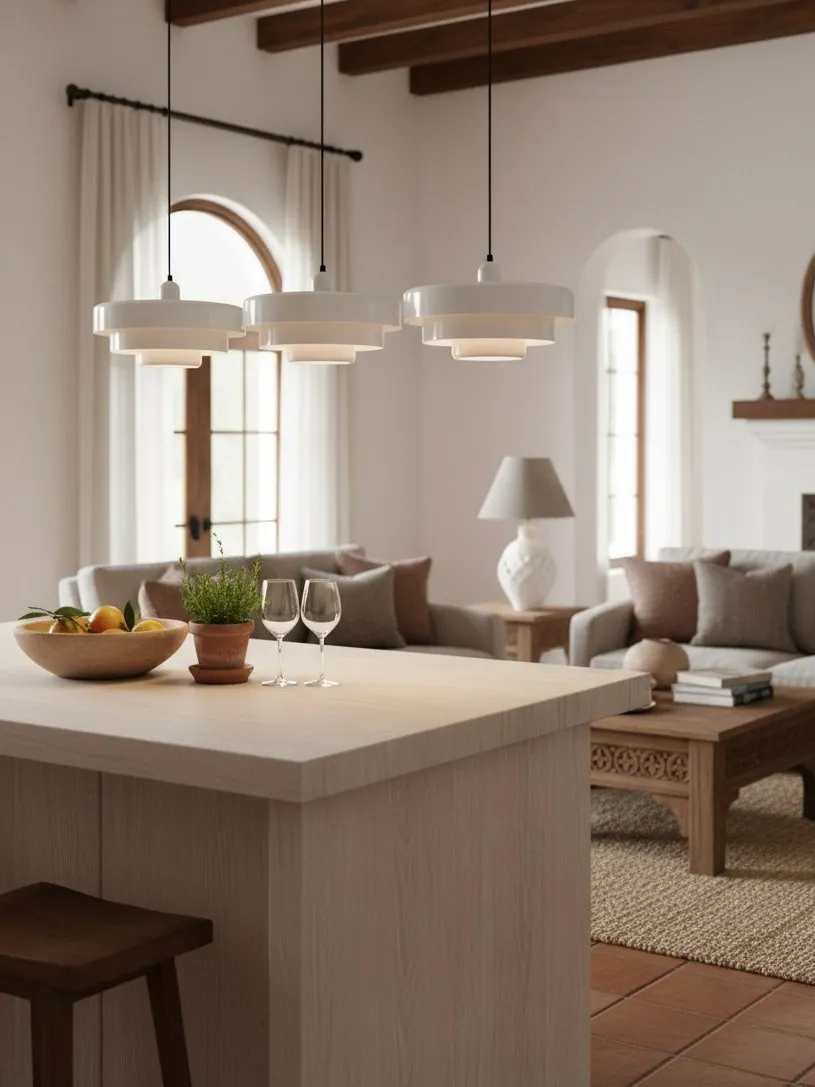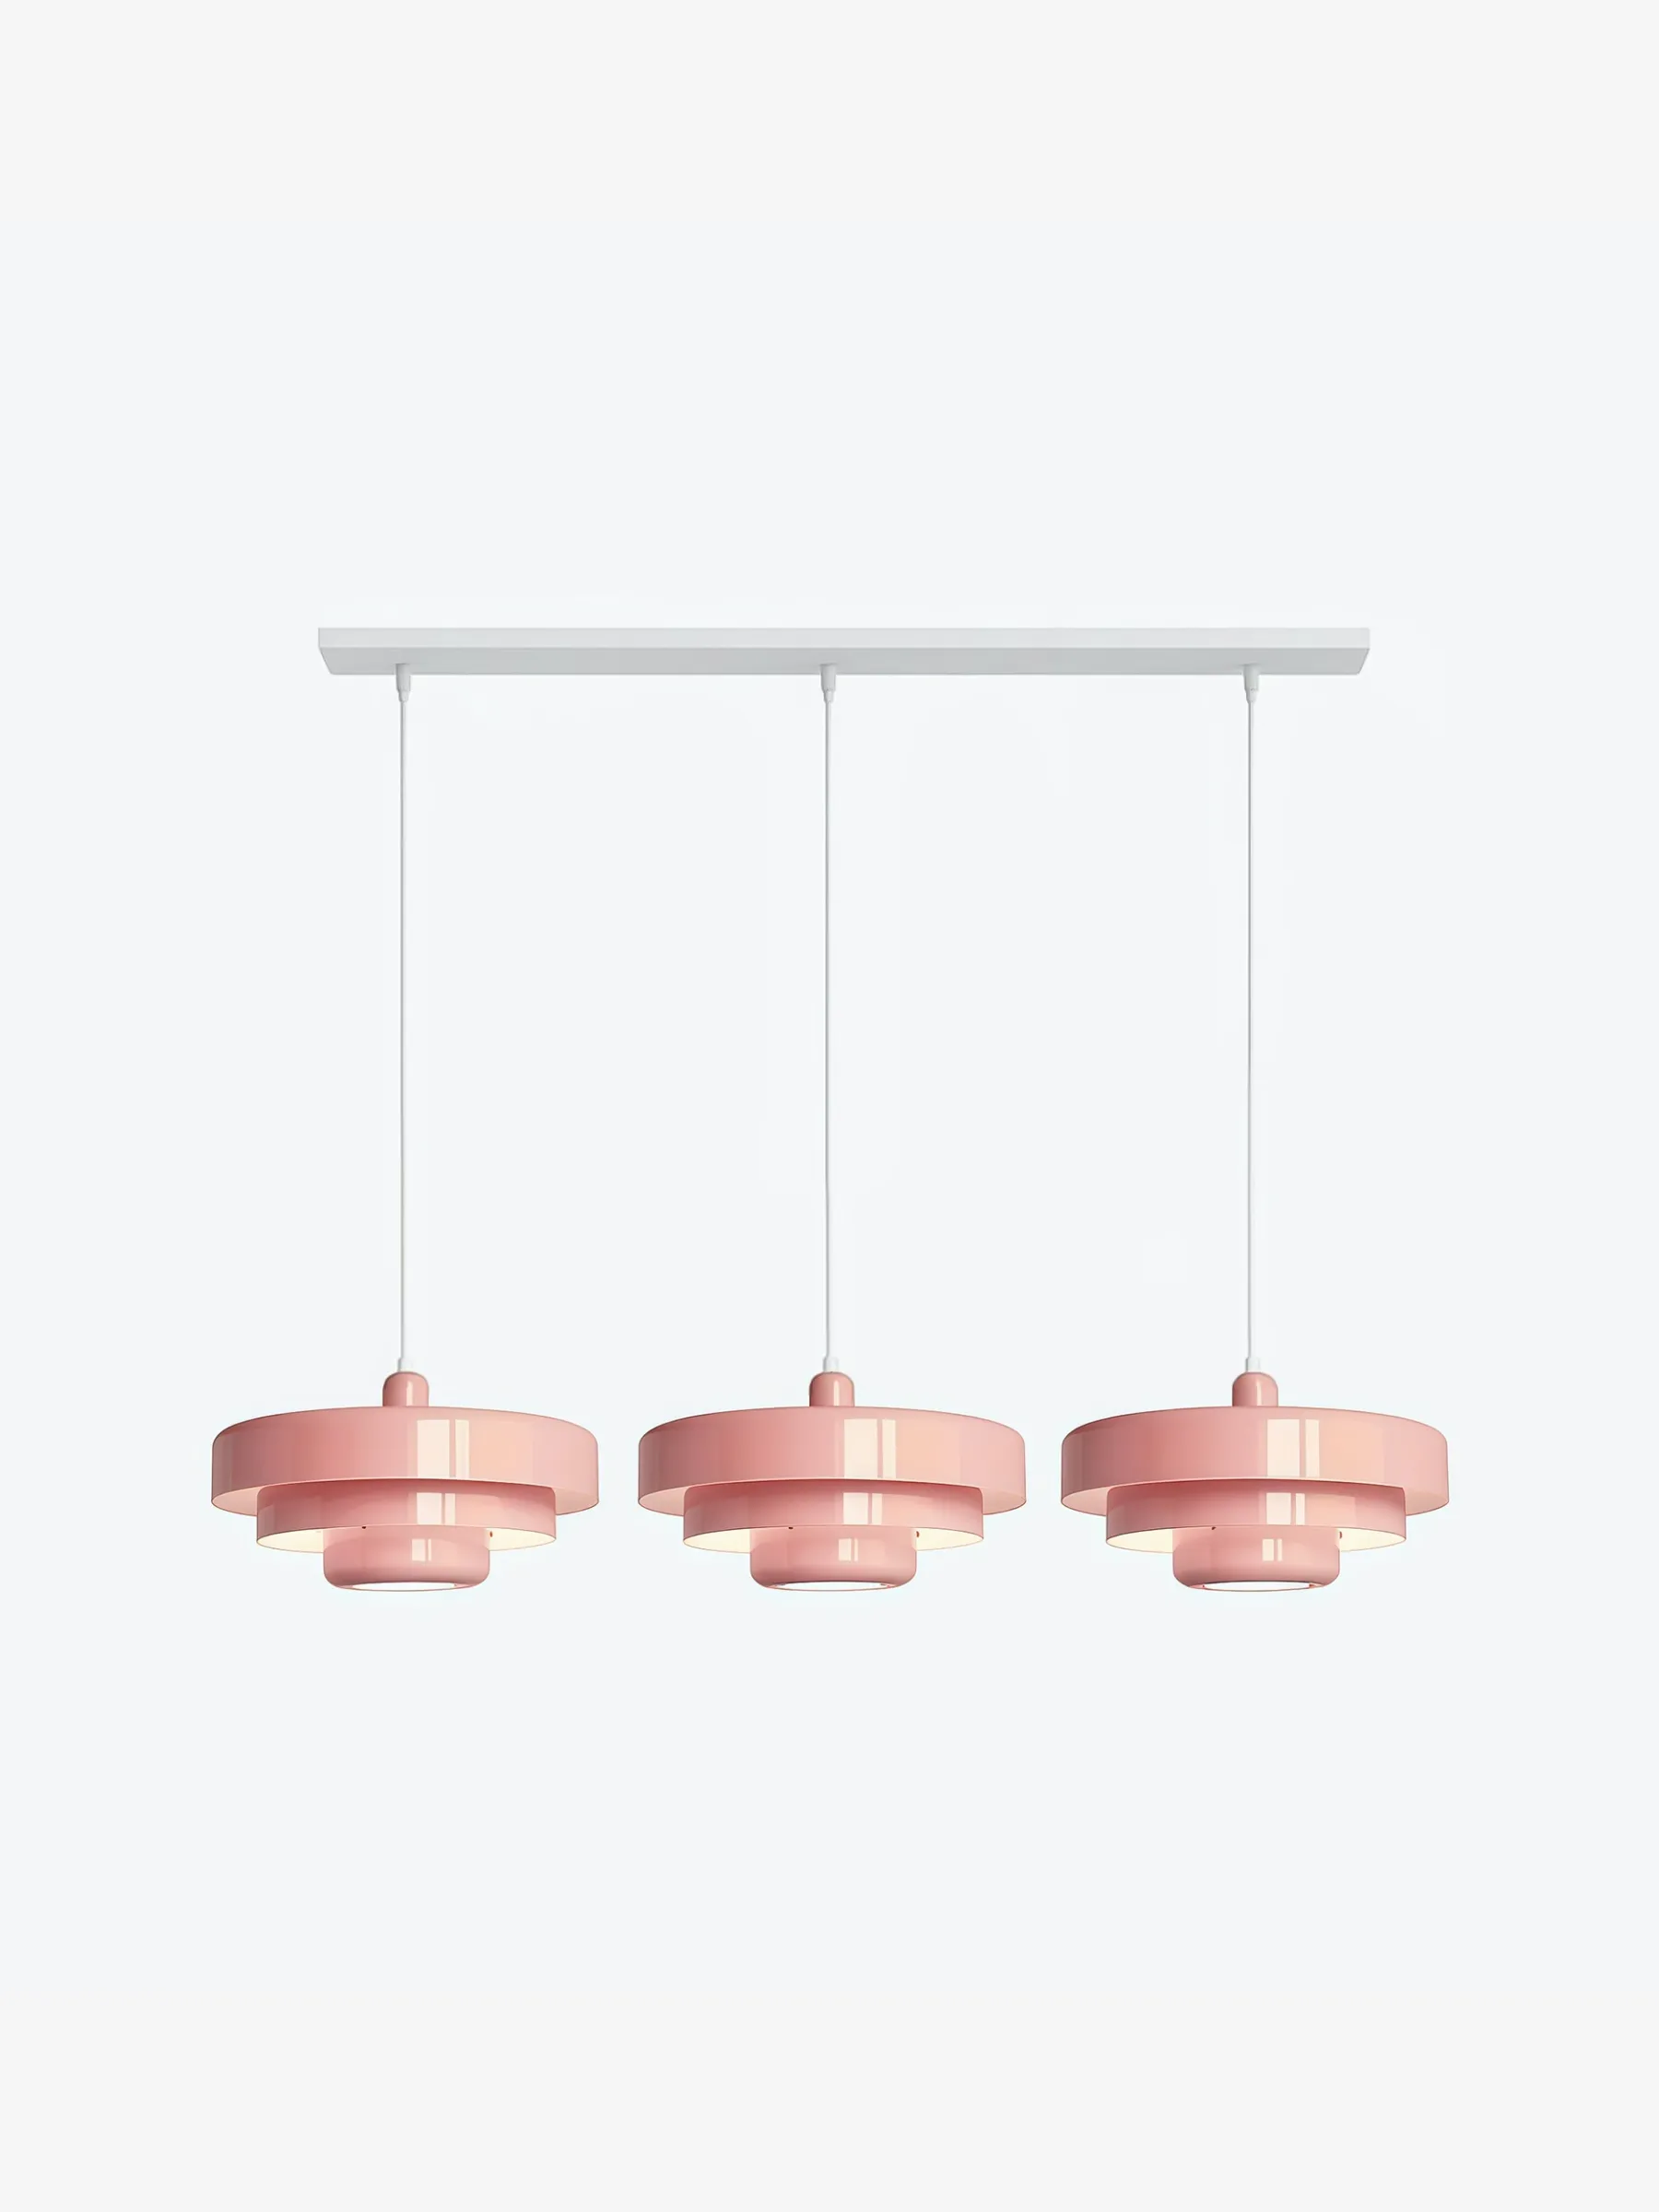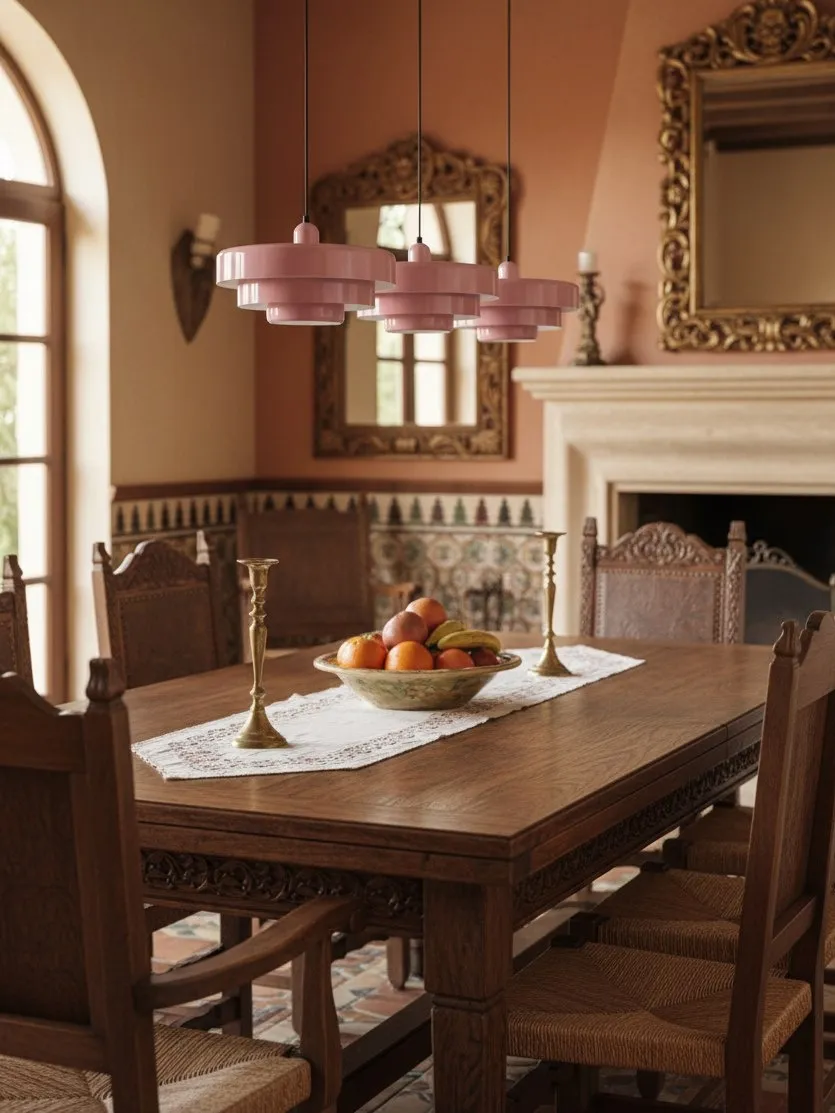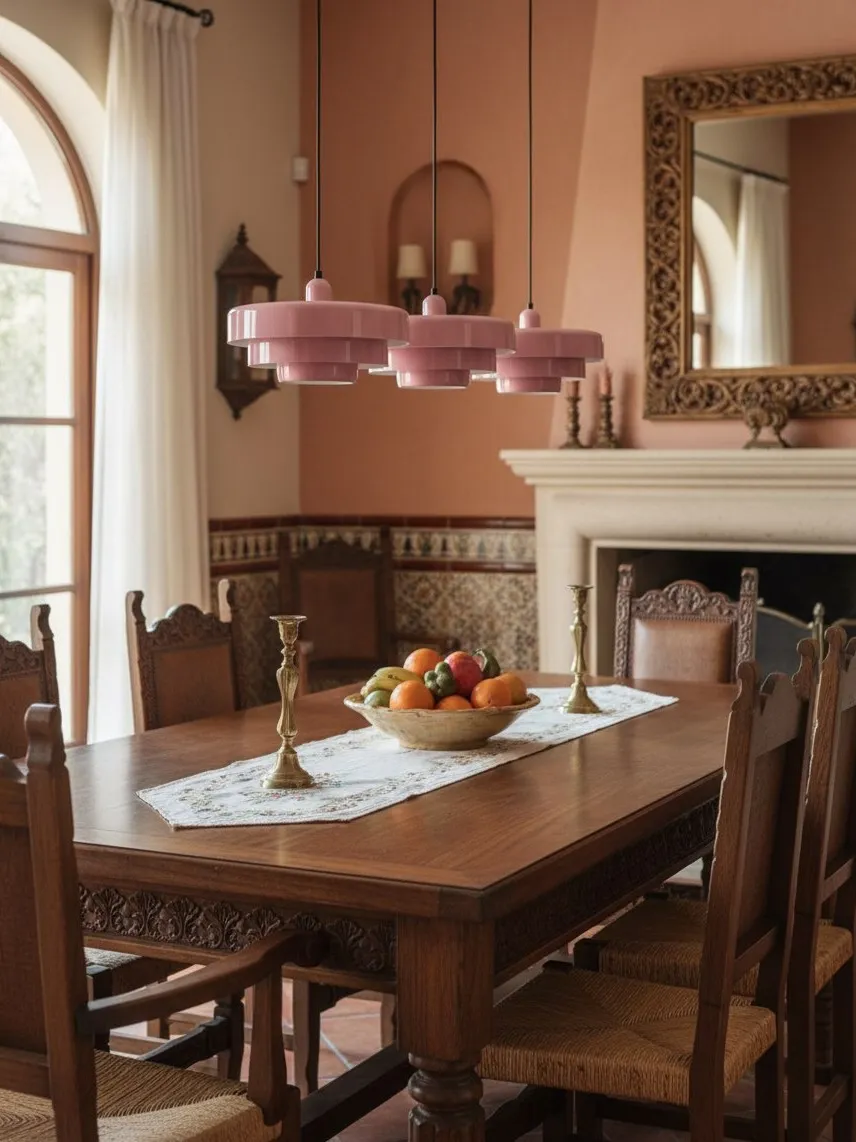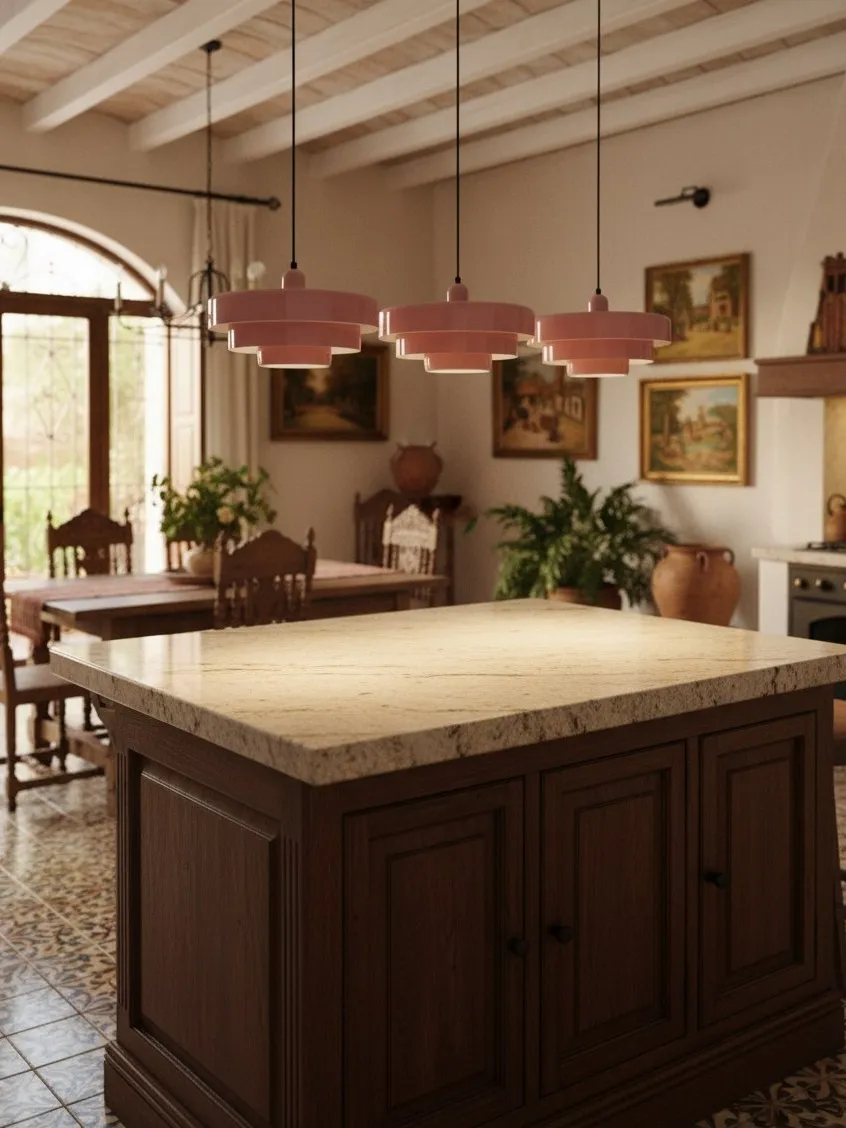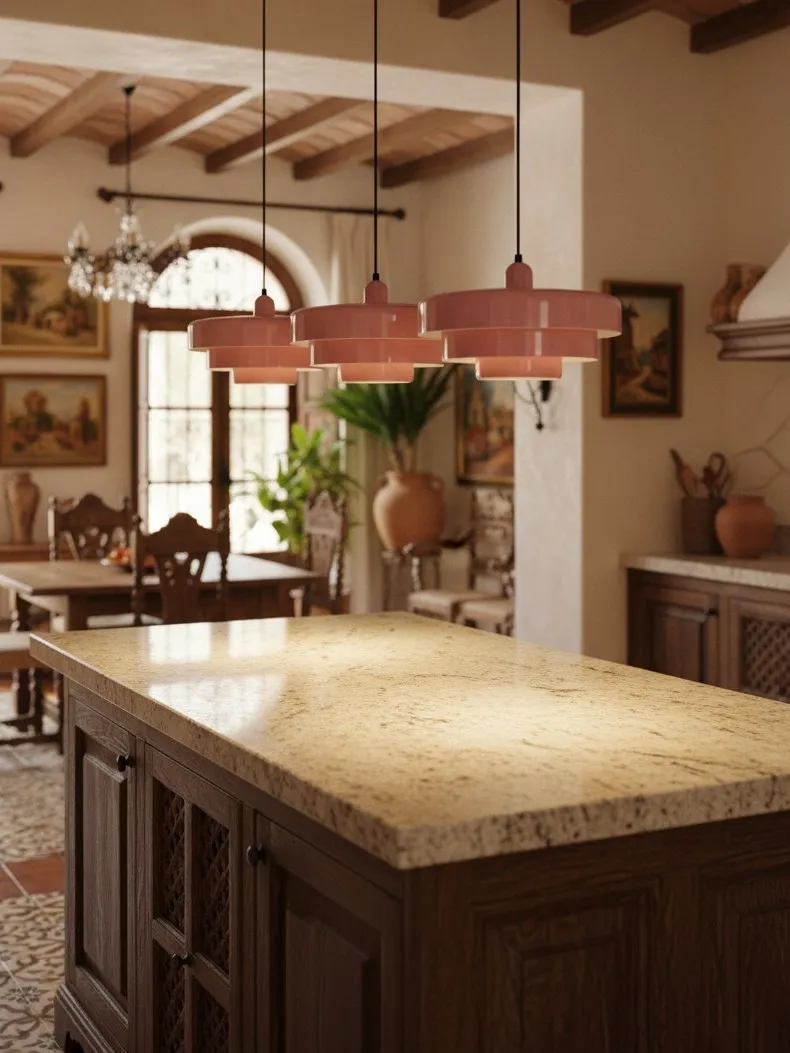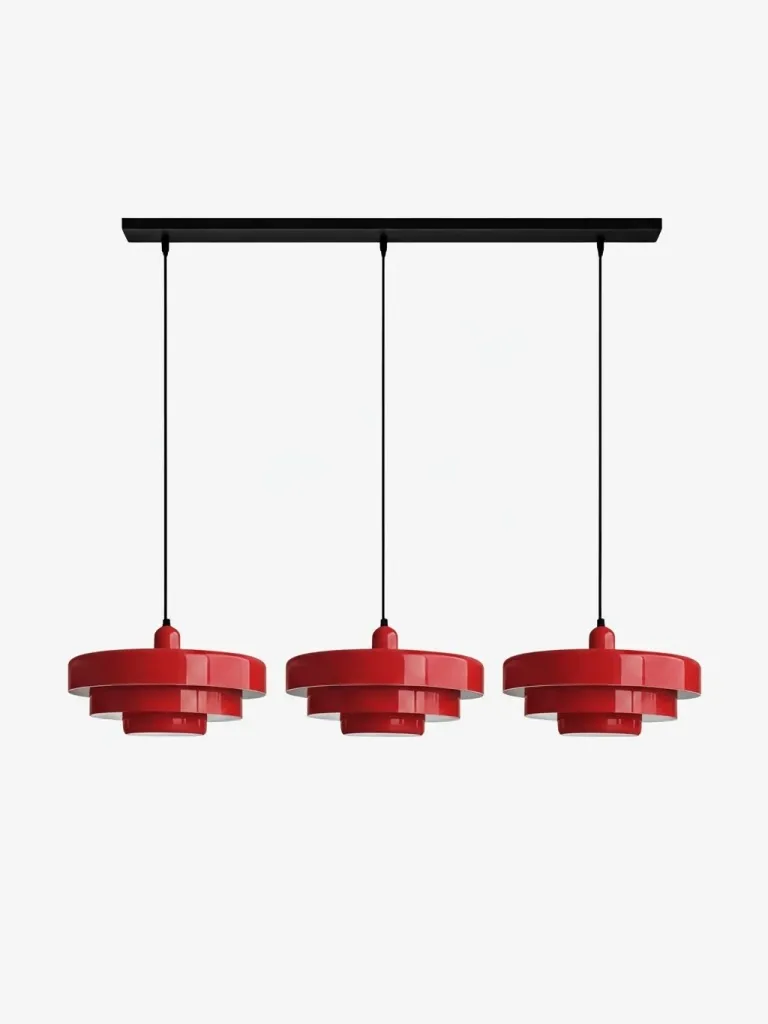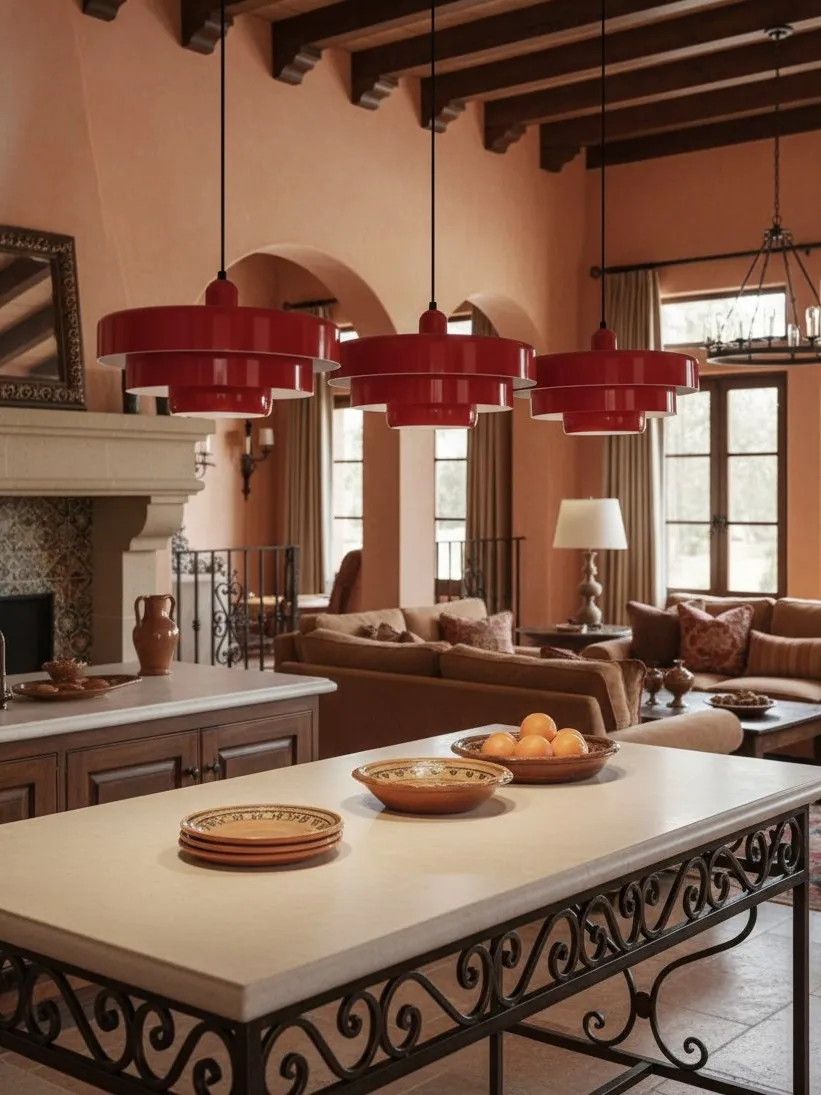
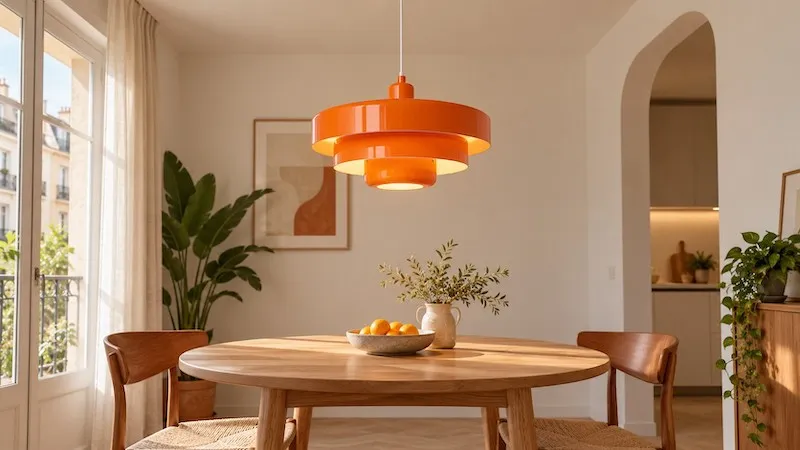
For most dining tables, begin with the pendant bottom about 70–90 cm above the tabletop. The range protects conversation and defines a pool of light, but it is only a starting point. Shade depth, eye level, ceiling height, cable adjustment and walking routes still matter, so measure the complete fitting before fixing it.
The Measurement That Actually Matters
Measure to the lowest visible part of the shade, not the canopy or ceiling rose. Record ceiling height, tabletop height, pendant-body height and the desired gap. Approximate cable length is the ceiling height minus the table height, body and gap, with allowance for the canopy and adjustment mechanism.
1. Mark the centre
Use the table centre, not necessarily the room centre. Mark it on the ceiling with removable tape.
2. Mock the lowest edge
Hang a paper or cardboard outline at the planned height. Include the true shade depth.
3. Test the sightline
Sit at several places, stand up and walk past. Faces should remain open and the shade should not feel like a collision point.
4. Recheck the hardware
Confirm that the cable, canopy and junction box can hold the fitting at the measured position.
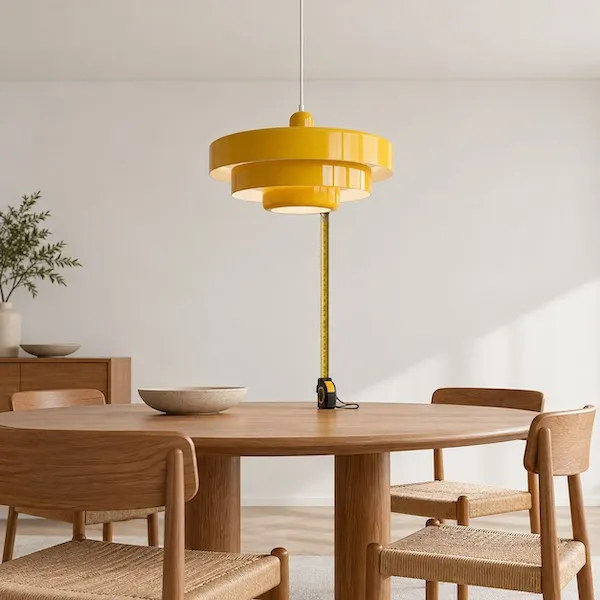
If the arithmetic feels uncertain, What Size Pendant Light Should You Buy for a Dining Table? pairs height with table width and fitting diameter. Best Dining Room Pendant Lights in Spain: A Buyer's Guide also covers the shortlist.
When 70–90 cm Is the Right Starting Range
The range works especially well when the light is centred over a table used for meals, homework and conversation. A shade around eye level can define the dining zone without cutting the room in half. It also gives a broad enough pool of light for place settings while allowing a separate ceiling or wall layer to illuminate the surrounding circulation.
Use the lower end when the shade is compact, the ceiling is tall and most users are seated. Use the upper end when the fitting is visually dense, diners are tall or the table sits in an open-plan route. These are editorial starting points; the correct height is the one that keeps the dominant sightlines comfortable.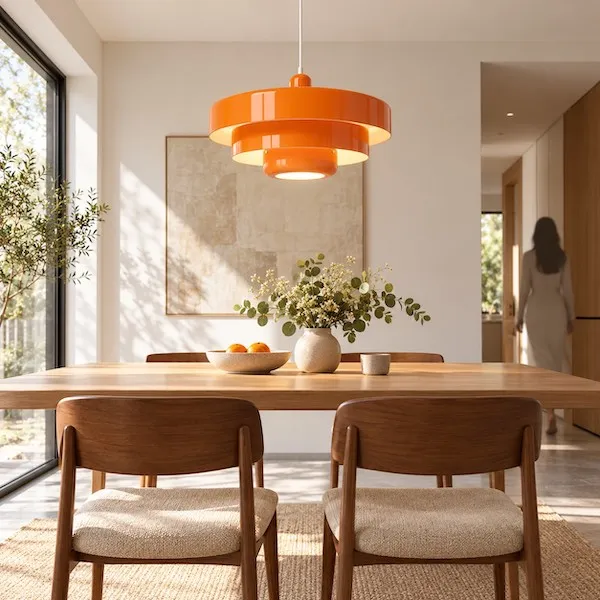
Adjust for Low Ceilings and Open-Plan Rooms
With a 2.4–2.6 m ceiling, calculate the full stack before ordering. A 21 cm shade plus a 70–90 cm gap may leave cable above it, but a deep canopy or fixed suspension can reduce adjustment. Protect the walking route first; a table zone can sit lower only when its edge stays outside people's heads.
Open-plan rooms add a second test: view the pendant from the sofa, kitchen worktop and entry. If it appears too low from a distant angle, raise it a few centimetres rather than abandoning the fitting. Pendant Lights for Low Ceilings: Cable Length and Clearance Before You Buy covers the separate clearance test for compact homes.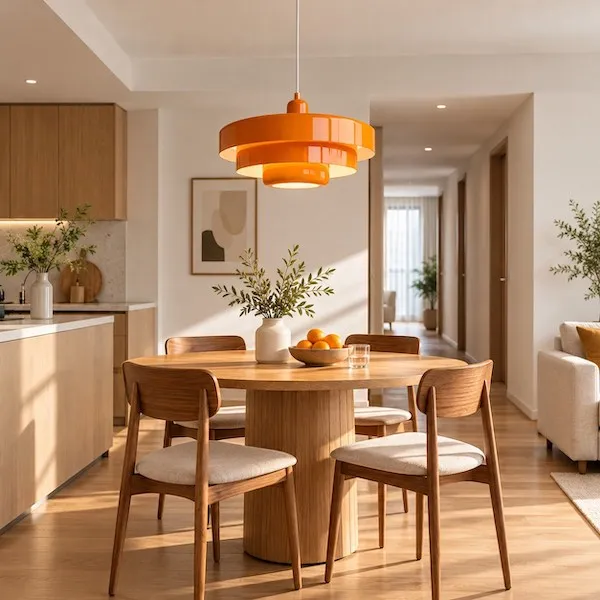
Height Cannot Fix Glare by Itself
Raising a pendant may move a bright bulb out of your direct view, but it can also flatten the table's light and make the fitting feel disconnected. Solve glare at the source: select an appropriate E27 bulb, consider a frosted envelope, and keep the fitting within its stated maximum rating. The product page lists a maximum 40W and does not include the bulb, so wattage and bulb choice remain your responsibility.
For a clear explanation of why watts and brightness are different, use the Department of Energy bulb guide when comparing lamps. The EU's light-source and energy-label information is also useful. Neither source replaces the fitting's own rating or a local electrical inspection.
Round Tables, Long Tables and Multiple Heads
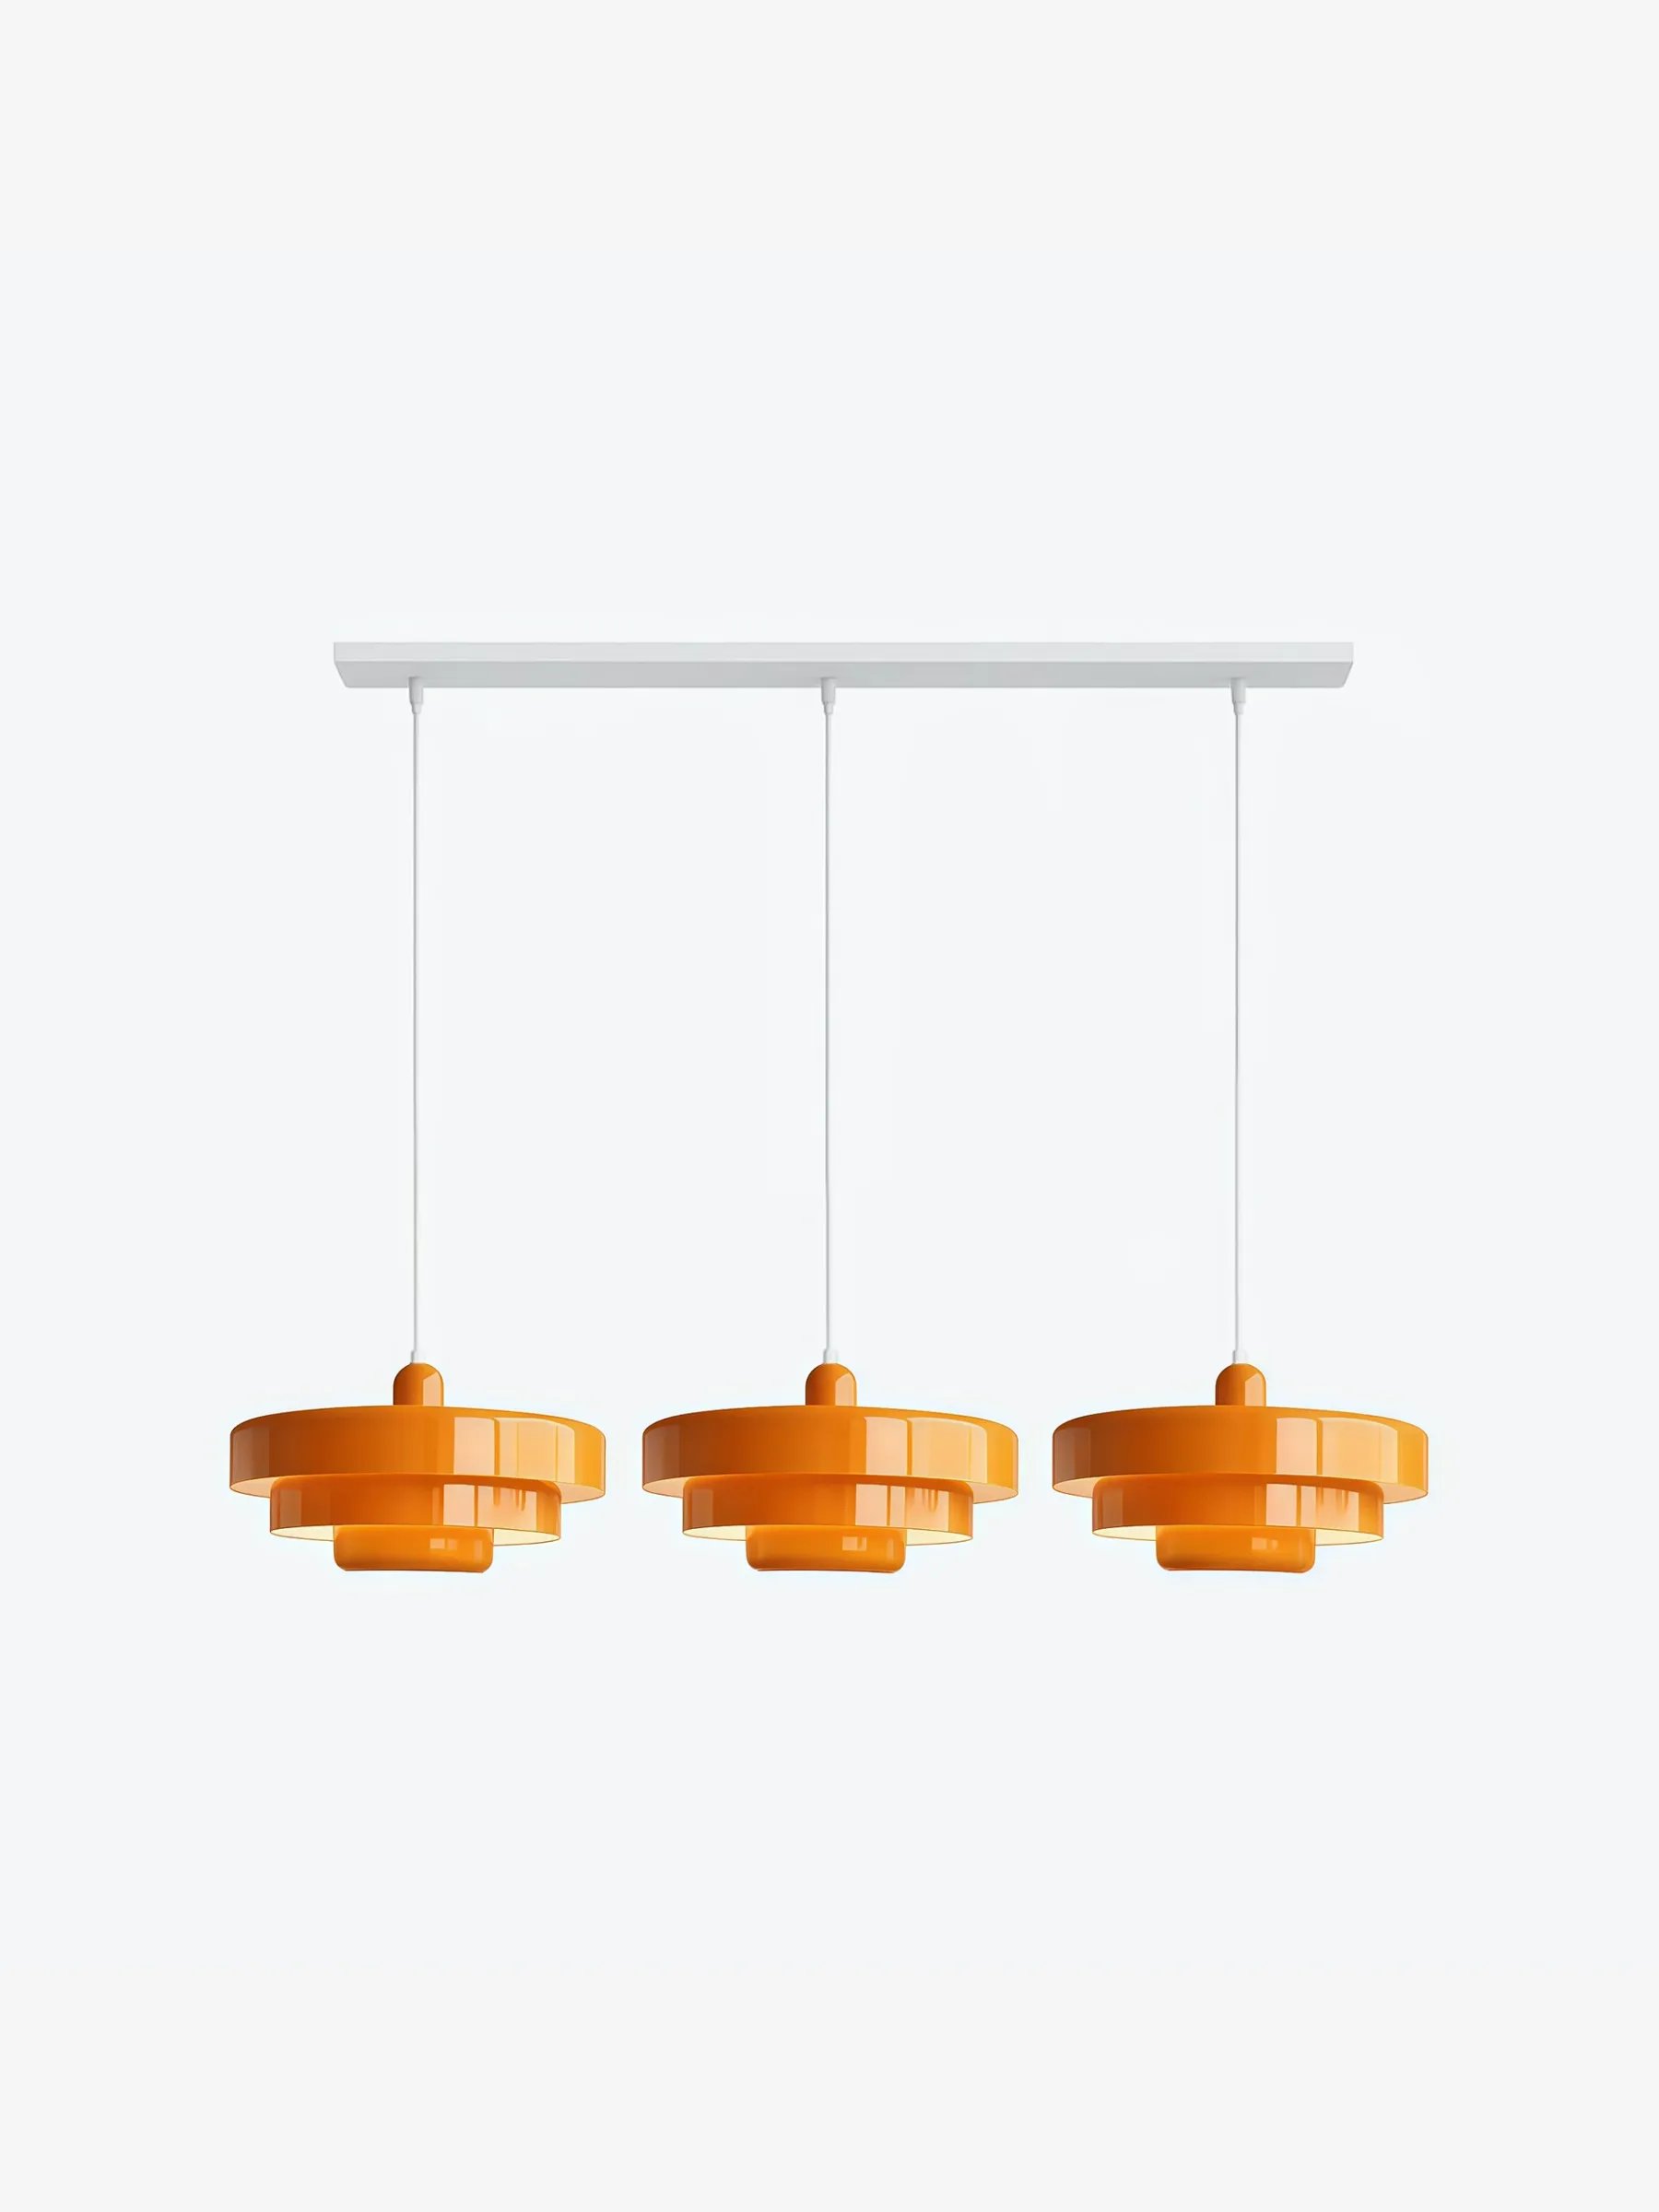
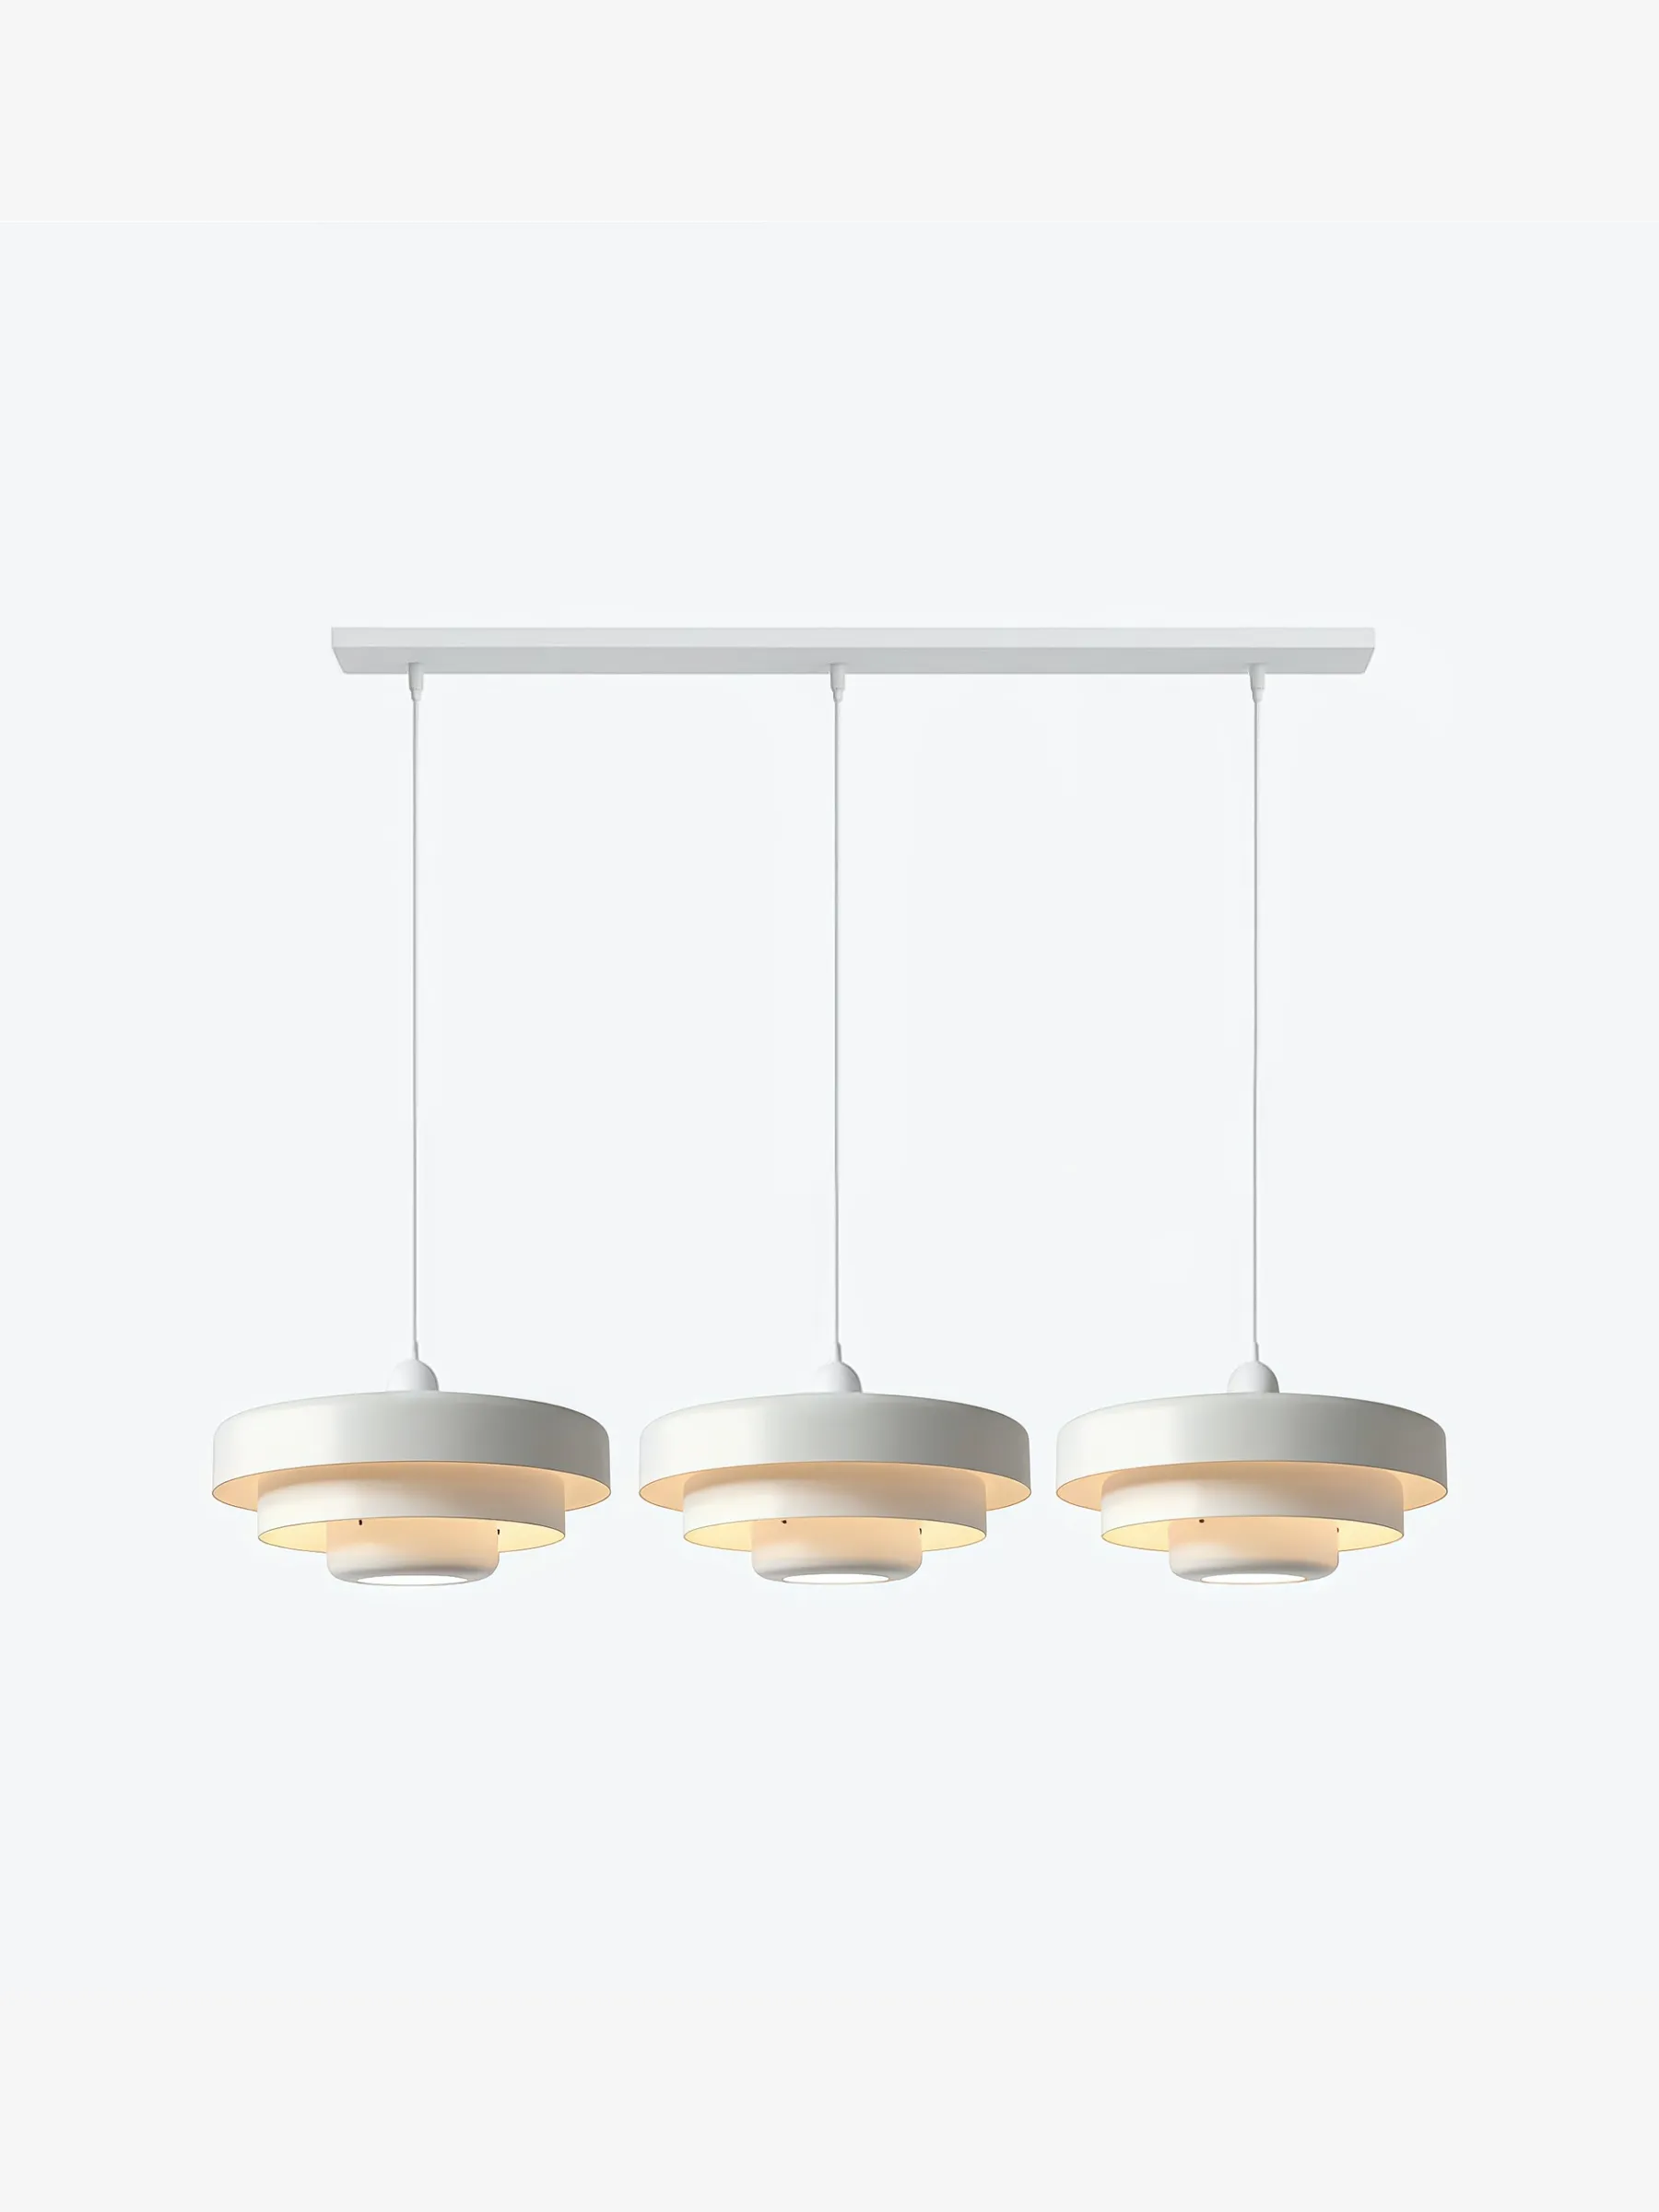
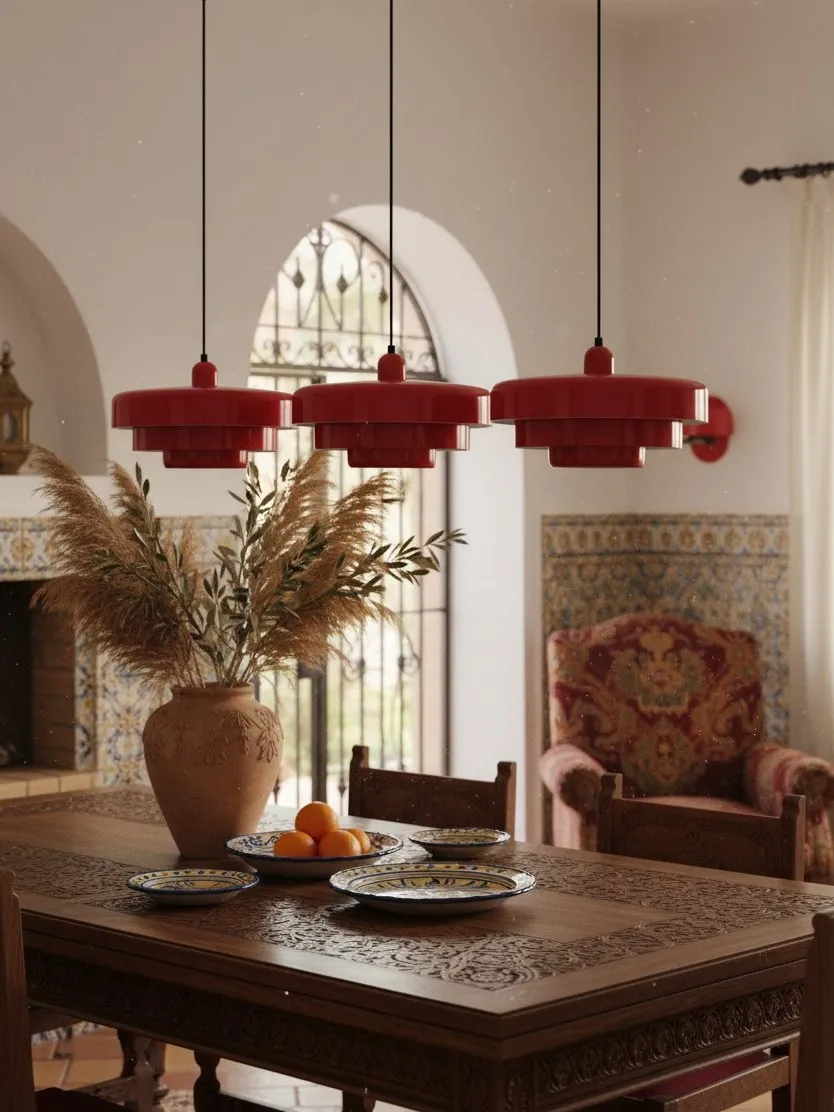
A single centred pendant is naturally forgiving over a round table. Over a long rectangular table, the same single point can leave the ends visually dark even at the correct height. A three-head version may spread the light and the visual rhythm, but confirm whether the heads share a canopy and how the suspension is arranged before choosing it.
For a very long table, keep the group centred on the table's long axis and check that each shade stays clear of the nearest seated place. For a round table, avoid an arrangement that creates an accidental triangle outside the tabletop footprint. Round Pendant Lights: Best Sizes and Placements for Dining Rooms gives a separate placement check for circular layouts.
Installation Day: A Safer Sequence
- Turn off the circuit and identify the existing ceiling connection.
- Confirm the mounting surface, fixing points and total fitting weight with the installation instructions.
- Set the cable length while the fitting is supported, never while it is hanging from unfinished wiring.
- Install the bulb only after the fitting is secure, and keep within the stated E27 and 40W limits.
- Test the room from every regular seat before tightening decorative covers.
Use a qualified electrician when the ceiling point, earthing, switch arrangement or local requirements are uncertain. Electrical Safety First's DIY guidance recommends competent help when electrical work is outside your experience. The height recommendation is a design guide, not permission to alter wiring without the right competence.
FAQ
Is 70–90 cm measured from the table to the ceiling rose?
No. Measure from the finished tabletop to the lowest part of the shade.
What if tall guests still feel the pendant is low?
Raise it in small steps and retest seated sightlines; the upper end of the range is often more comfortable.
Can I shorten the 150 cm cable myself?
Do not assume so. Confirm the adjustment method with the seller and have wiring changes completed by a competent installer.
Should a low ceiling always have a flush mount?
No. A pendant can work over a table if the final shade height and walking clearance are both comfortable.
Will raising the pendant remove glare?
It may help the sightline, but bulb shape, diffusion and the fitting's shade still control glare.
Does a three-head fitting need a higher ceiling?
Not automatically. Check its canopy, total drop and visual weight for the specific SKU.